How to Use the Philips Air Fryer: Quick Guide for Perfect Results
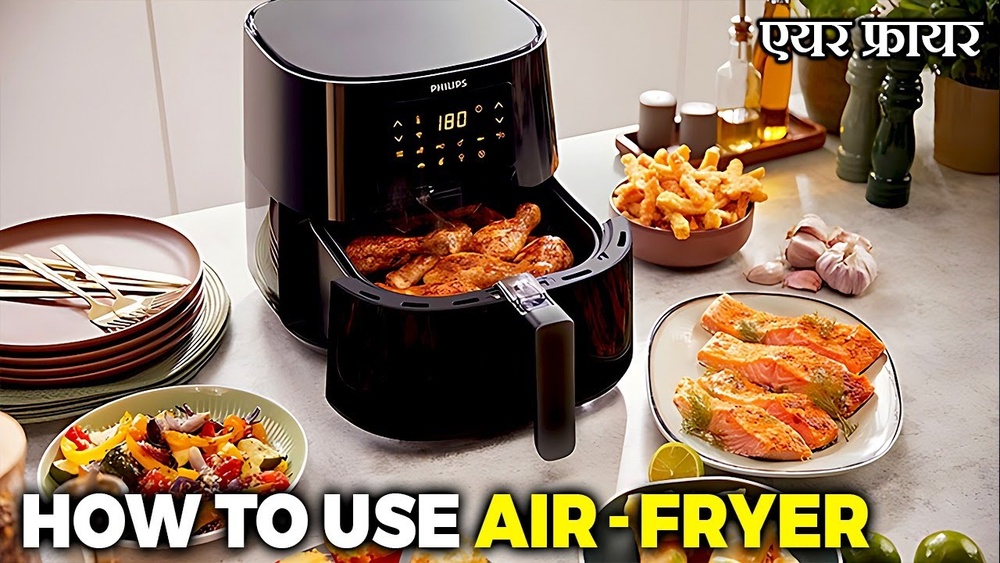
The Philips Air Fryer has changed how many people cook at home. This handy kitchen device lets you enjoy fried foods with much less oil, making meals healthier and easier to prepare. If you’re new to air fryers or want to get the best results from your Philips model, you’re in the right place.
This article will guide you step-by-step, from unboxing to cleaning, and cover common mistakes, tips, and practical examples. With simple English and clear advice, you’ll feel confident using your Philips Air Fryer for crispy fries, juicy chicken, and much more.
Getting Started: Unboxing And Setup
Before you cook anything, you need to set up your Philips Air Fryer. Unboxing is simple, but doing it right avoids problems later.
- Open the box and remove all items. You’ll usually find the air fryer unit, a basket, a pan, and maybe some accessories like racks or recipe booklets.
- Check for damage. Look for cracks or loose parts. If anything looks broken, contact Philips support before using.
- Wash removable parts. Clean the basket and pan with warm, soapy water. Dry them completely.
- Find a safe spot. Place the air fryer on a flat, heat-resistant surface. It should have space around it for airflow. Avoid putting it against walls or near curtains.
One thing many beginners miss is checking the voltage. Philips Air Fryers usually work at 120V or 220V depending on your region. Plugging into the wrong outlet can damage the unit.
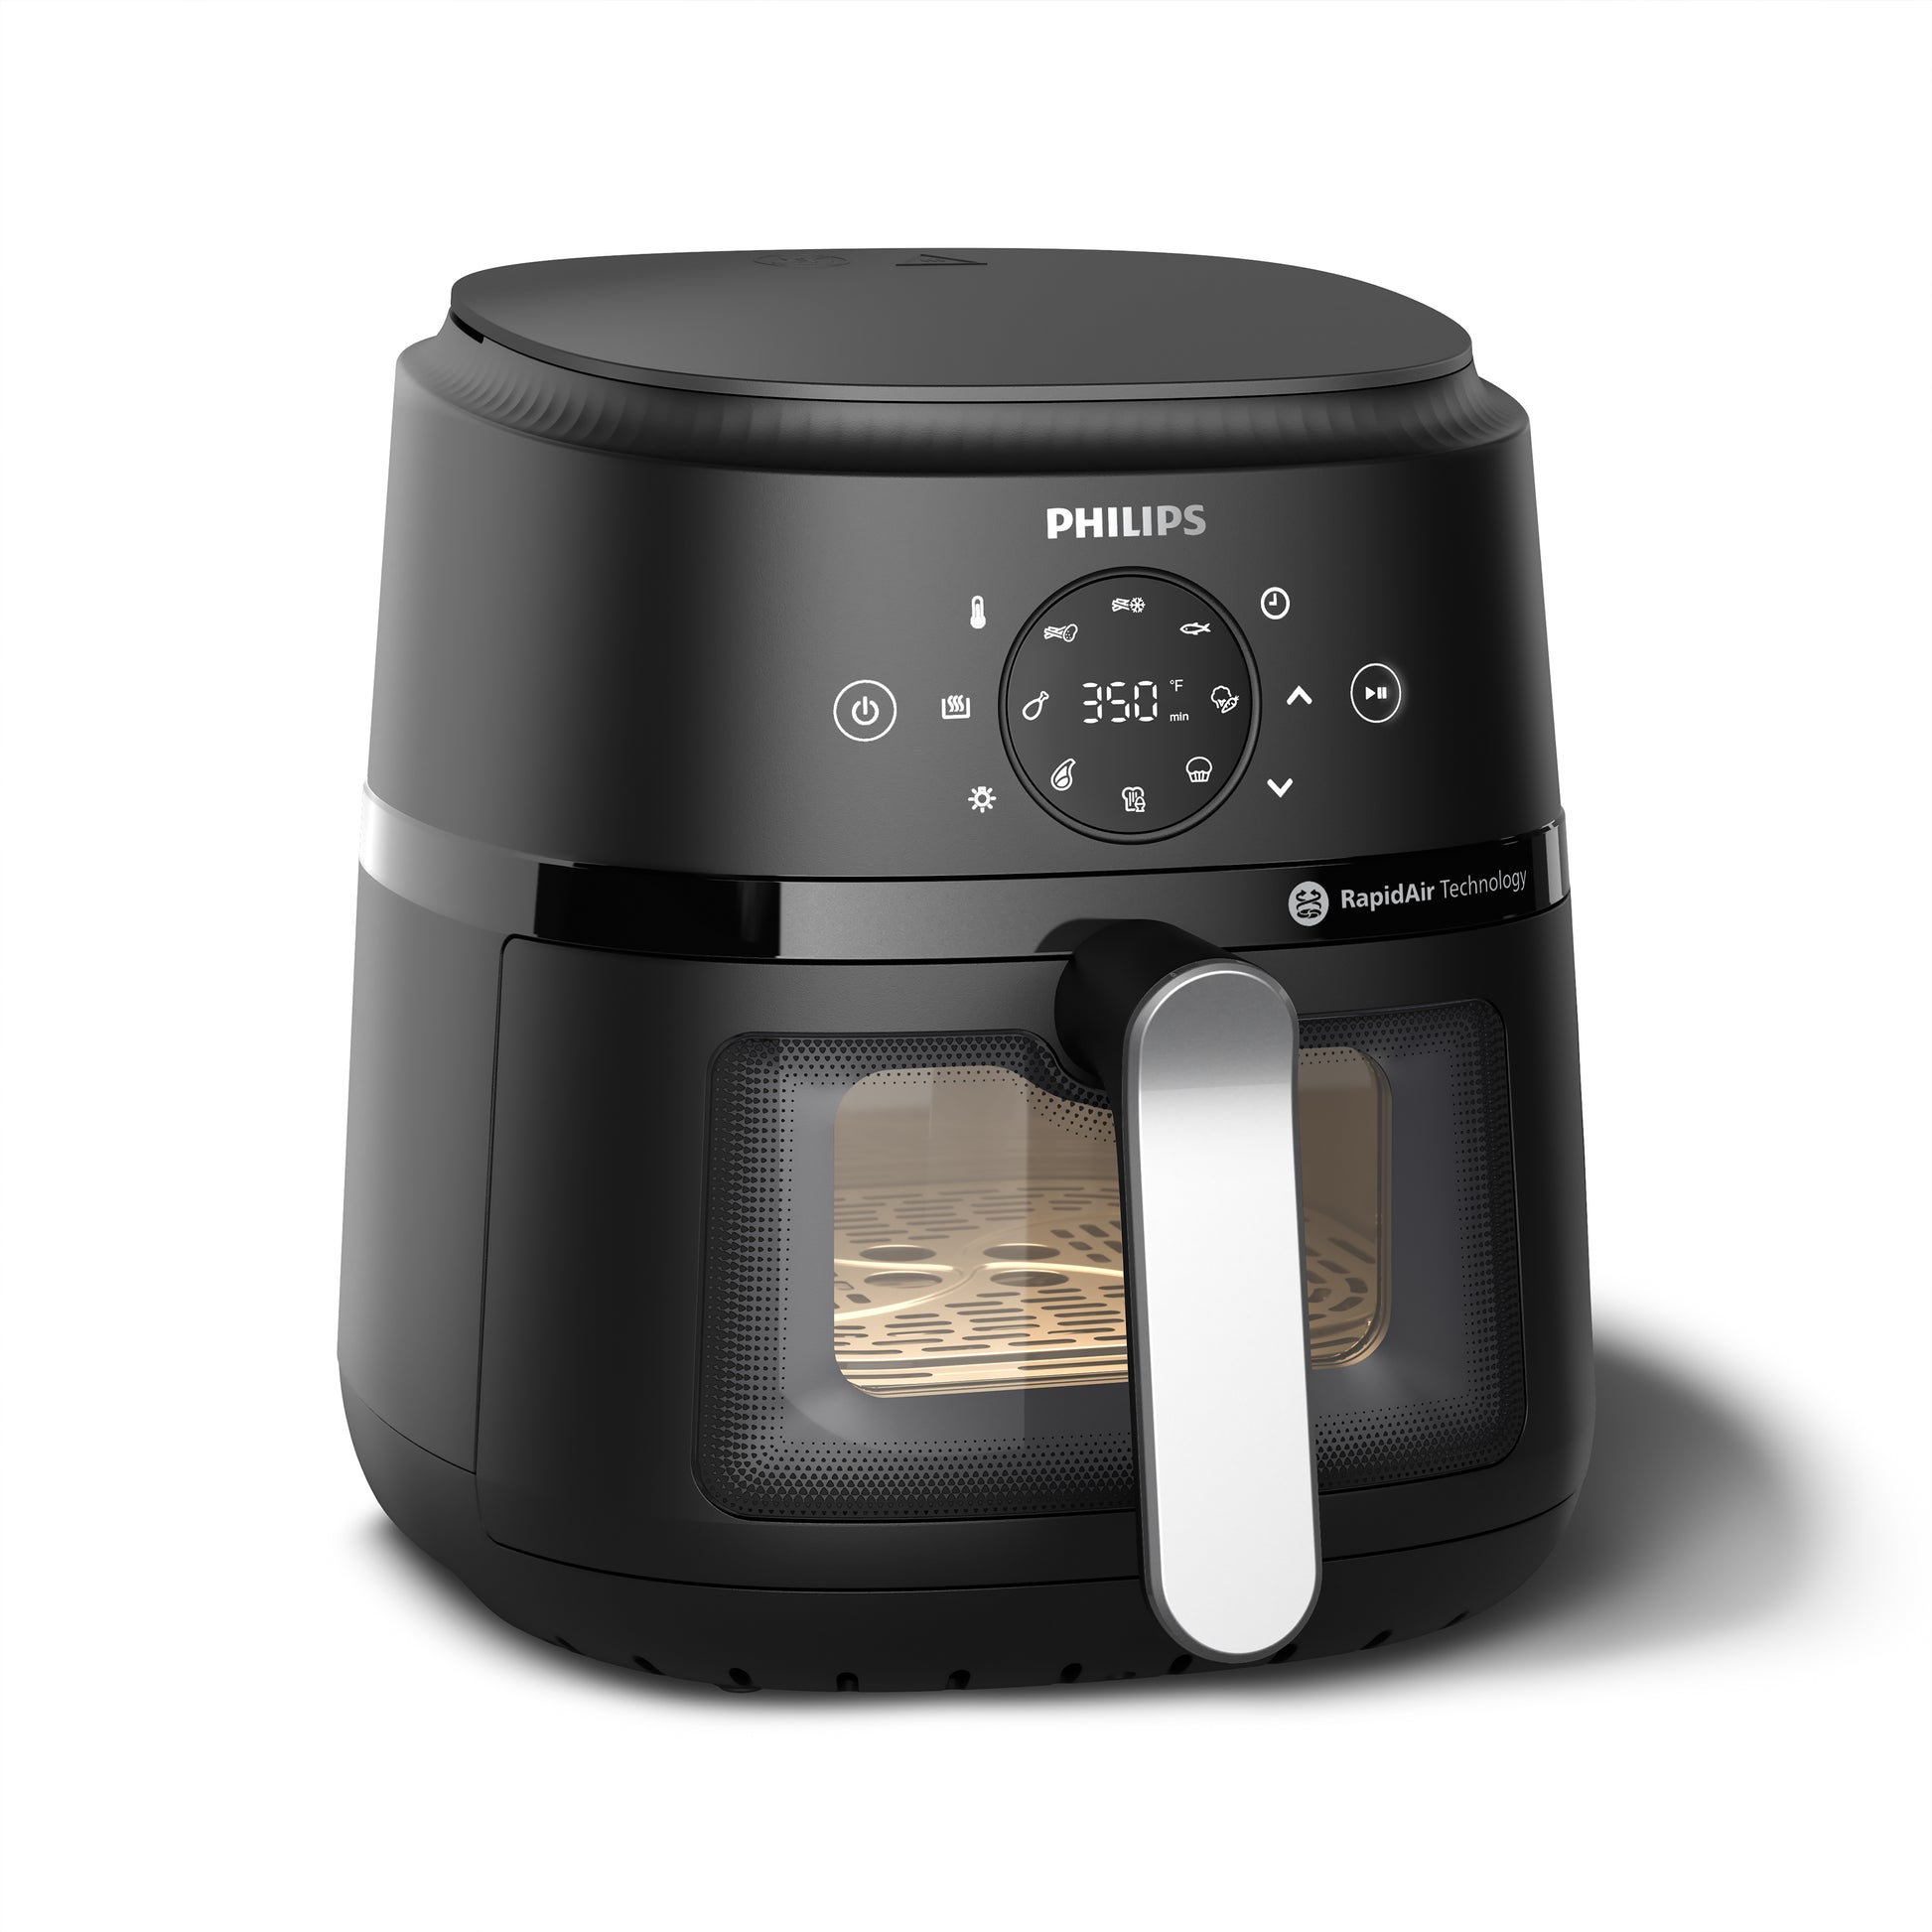
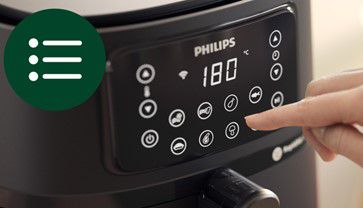
Understanding The Controls And Settings
Philips Air Fryers come with different control types—some have digital touch panels, others use manual dials. Knowing how to use these controls is key to good cooking.
Manual Dials
Older or basic models use two dials:
- Time dial: Sets cooking time, usually up to 60 minutes.
- Temperature dial: Sets heat from 80°C (175°F) to 200°C (400°F).
Digital Controls
Newer models often have:
- LED display: Shows time and temperature.
- Preset buttons: For fries, chicken, fish, etc.
- Custom settings: Lets you set your own time and temperature.
A non-obvious tip: Digital models often beep when preheating is done or cooking finishes. Manual models don’t, so you’ll need to watch the timer closely.
Preheating: Is It Necessary?
Many Philips Air Fryer recipes say to preheat. But is it always needed?
- For most foods, preheating helps cook evenly and gives crispier results.
- Preheating usually takes 3–5 minutes. Set the temperature, turn on the air fryer, and wait until it’s hot.
Some Philips models auto-preheat when you start cooking. Others need manual preheating. Check your manual for details.
A common mistake is skipping preheating for thick foods. This can lead to uneven cooking—crispy outside but raw inside.
Cooking Basics: Step-by-step Guide
Using your Philips Air Fryer is easy once you know the steps. Here’s a clear guide for beginners:
- Prepare your food. Cut, season, or marinate as needed. Dry food helps it crisp better.
- Place food in the basket. Don’t overcrowd. Air needs to flow around each piece.
- Insert the basket. Slide it into the air fryer.
- Set time and temperature. Use recipe guides or Philips’ suggestions.
- Start cooking. Press the start button or turn the dials.
- Shake or turn halfway. For fries or nuggets, shake the basket halfway through. For chicken, flip once.
- Check doneness. Use a meat thermometer or check for color and texture.
- Remove food safely. The basket is hot. Use oven mitts or tongs.
Here’s an example: Cooking frozen fries.
- Preheat to 180°C (356°F) for 3 minutes.
- Place 300g (10 oz) fries in the basket.
- Set timer to 15 minutes.
- Shake halfway through.
- Check if golden and crispy.
Using Preset Programs
Many Philips Air Fryer models come with preset programs. These are designed for popular foods:
- Fries: Sets ideal temperature and time for crispy potatoes.
- Chicken: Good for wings or drumsticks.
- Fish: Cooks fillets evenly.
- Cake: For baking small cakes or muffins.
Presets make cooking easier for beginners. But they’re not perfect for every recipe. Always check your food before serving.
Cooking Different Foods: Tips And Examples
The Philips Air Fryer can cook many foods. Here are tips for the most common types:
French Fries
- Use fresh or frozen potatoes.
- Soak fresh potatoes in water for 30 minutes to remove starch.
- Dry them well before cooking.
- Use 1 tablespoon of oil for extra crispiness.
Chicken
- Marinate for at least 30 minutes for flavor.
- For whole chicken, tie the legs to cook evenly.
- Use a meat thermometer—safe temperature is 75°C (165°F).
Fish
- Brush with oil to prevent sticking.
- Place fillets in a single layer.
- Cook at lower temperatures to avoid drying out.
Vegetables
- Cut into even pieces.
- Toss with oil and spices.
- Shake basket halfway for even roasting.
Baking
- Use silicone muffin cups or baking pans that fit the basket.
- Follow cake or muffin recipes, but check doneness 5–10 minutes earlier than oven times.
Comparing Cooking Results: Air Fryer Vs. Traditional Methods
It’s helpful to see how Philips Air Fryer cooking compares to traditional methods. Here’s a quick look:
| Food | Philips Air Fryer | Deep Fryer | Oven |
|---|---|---|---|
| French Fries | Low oil, crispy, less fat | High oil, very crispy, high fat | Dry, less crispy, slow |
| Chicken Wings | Juicy, crispy, healthy | Very crispy, oily, fast | Juicy, less crispy, slow |
| Vegetables | Quick, roasted, less oil | Soggy, high oil | Roasted, slow, more oil |
A non-obvious insight: Air fryers often give better results for small batches. For large meals, ovens may be faster.
Cleaning And Maintenance
Keeping your Philips Air Fryer clean is important for safety and taste.
- Unplug and cool down. Never clean while hot or plugged in.
- Remove basket and pan. Wash with warm soapy water.
- Wipe inside. Use a damp cloth for the heating element and interior.
- Dry fully. Moisture causes rust and bad smells.
Don’t use metal scrubbers—they can scratch the nonstick coating. For sticky residue, soak for 10 minutes before washing.
Some models have dishwasher-safe parts. Check your manual to be sure.
Philips Air Fryer Models: Features Comparison
Philips offers different air fryer models. Here’s a quick comparison:
| Model | Capacity | Controls | Special Features |
|---|---|---|---|
| Essential | 4.1L | Manual dials | Compact, affordable |
| Premium | 7.3L | Digital touch | Presets, keep warm |
| XL | 6.5L | Digital touch | Extra capacity, dishwasher safe parts |
Picking the right model depends on your family size and cooking habits. For singles or couples, Essential works well. For big families, XL or Premium is better.
Troubleshooting: Common Problems And Solutions
Even the best air fryers have issues sometimes. Here are solutions for common Philips Air Fryer problems:
Not Turning On
- Check the power outlet and plug.
- Try another outlet.
- If it still doesn’t work, contact Philips support.
Food Not Crispy
- Don’t overcrowd the basket.
- Dry food before cooking.
- Use a little oil.
- Increase temperature or cooking time.
Smoke Or Bad Smell
- Remove excess oil or fat before cooking.
- Clean the basket and pan after each use.
- Avoid cooking too fatty foods.
Uneven Cooking
- Shake or turn food halfway.
- Cut food into equal sizes.
- Don’t stack food too high.
A useful tip: If you notice plastic smell during first use, run the air fryer empty for 10 minutes to burn off residues.
Credit: us.home-appliances.philips
Maximizing Your Philips Air Fryer: Advanced Tips
Once you’re comfortable, try these advanced tips:
- Use baking paper or foil to line the basket for easier cleanup. But don’t cover all air holes.
- Try layer cooking with racks—cook two foods at once.
- Make homemade snacks like chips, roasted nuts, or granola.
- Reheat leftovers—air fryers make pizza and fries crispy again.
Many people miss the potential to cook full meals—not just snacks. You can roast a small chicken, bake a cake, or grill vegetables.
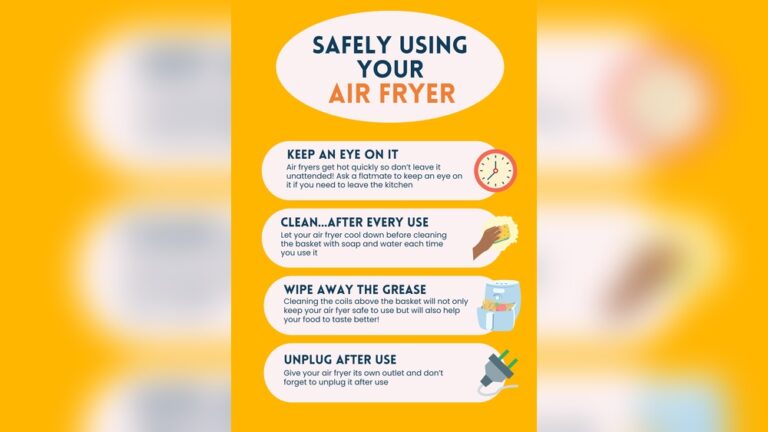
Safety Tips
Safety is important with any kitchen appliance.
- Keep children away during use.
- Don’t touch hot parts—use oven mitts.
- Never immerse the main unit in water.
- Don’t use air fryers near flammable items.
An overlooked point: After cooking, let the air fryer cool before storing or cleaning.
Credit: www.usa.philips.com
Healthy Cooking: Data And Benefits
Philips Air Fryers reduce oil use by up to 80% compared to deep frying. This lowers calories and fat in your meals. Studies show air-fried foods can have:
- 70–80% less fat
- Lower acrylamide (a harmful chemical from frying)
- More vitamins preserved due to shorter cooking times
If you want more details, see this research paper about air-fried food benefits.
Frequently Asked Questions
How Much Oil Do I Need For The Philips Air Fryer?
You usually need very little oil—1 to 2 tablespoons for most foods. Some recipes need none at all.
Can I Cook Frozen Foods Directly?
Yes, you can cook frozen foods like fries, nuggets, and fish sticks without thawing. Increase the cooking time by 3–5 minutes.
Is The Philips Air Fryer Dishwasher Safe?
Some models have dishwasher-safe baskets and pans. Always check your user manual to be sure.
Why Does My Air Fryer Smell During First Use?
A plastic smell is common the first time. Run the air fryer empty for 10 minutes to remove it.
Can I Bake Cakes And Muffins In The Philips Air Fryer?
Yes, you can bake cakes, muffins, and bread. Use silicone or metal cups that fit inside the basket.
Using your Philips Air Fryer is simple and rewarding. With these steps, tips, and examples, you can make delicious meals every day. Don’t be afraid to experiment—try new recipes and cooking methods. With practice, you’ll discover the full power of your air fryer and enjoy healthier, tastier food at home.