How to Season a Blackstone Griddle: Ultimate Guide for Perfect Coating
If you want your Blackstone griddle to deliver perfectly cooked meals every time, seasoning it properly is a must. Seasoning not only protects your griddle from rust but also creates a natural non-stick surface that makes cooking and cleaning a breeze.
But how do you get started? You might feel overwhelmed with all the advice out there, or unsure which oils to use and how many layers to apply. Don’t worry—this guide will walk you through each step clearly and simply, so you can enjoy your griddle’s full potential from day one.
Ready to master the art of seasoning your Blackstone griddle and cook like a pro? Let’s dive in!
Credit: blackstoneproducts.com
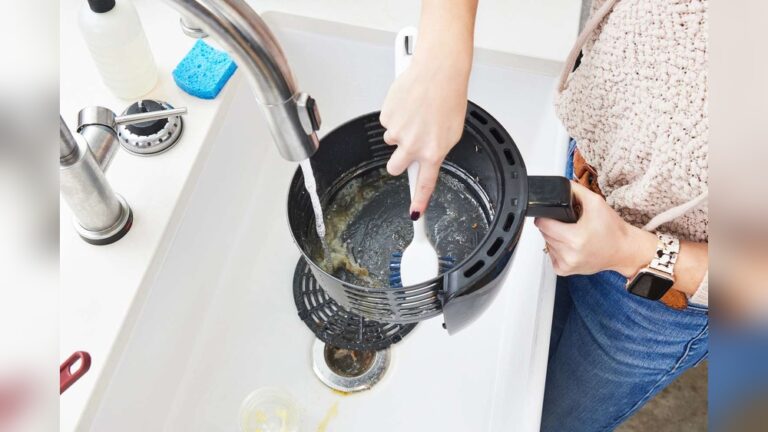
Cleaning The Griddle
Cleaning your Blackstone griddle is the first step to a great seasoning process. Proper cleaning removes oils and residues that prevent the seasoning from sticking. It helps create a smooth, non-stick cooking surface. Start by removing factory oils, then wash and dry the griddle carefully. This ensures the surface is ready for oil application and heating.
Removing Factory Oils
New Blackstone griddles come with a protective layer of factory oils. These oils keep the metal safe during shipping but must be removed before seasoning. Use warm water and a small amount of mild soap. Scrub the griddle surface gently with a soft cloth or sponge. Avoid harsh cleaners that can damage the metal. Rinse thoroughly to remove all soap and oils. This step prepares the griddle for the best seasoning results.
Washing And Drying Tips
After removing factory oils, rinse the griddle well with hot water. Do not leave water on the surface to avoid rust. Use a clean towel or paper towels to dry the griddle completely. Next, turn on the burners to high heat. Let the griddle heat until it is fully dry and slightly smoking. This step removes any leftover moisture and opens the metal pores. A dry surface ensures the oil bonds well during seasoning.
Heating And Preparing
Heating and preparing your Blackstone griddle correctly is vital for a good seasoning. This step ensures the surface is ready to absorb the oil and build a strong, non-stick layer. Proper heating removes moisture and opens the metal pores for better oil bonding.
Take your time with this stage. It sets the foundation for a durable and even seasoning coat. Follow the right temperature and drying methods for best results.
Preheating The Surface
Start by turning on all burners to medium heat. Let the griddle warm up slowly for about 10 to 15 minutes. This avoids hot spots and ensures even heating across the surface.
The surface should feel hot but not smoking yet. Check by carefully holding your hand a few inches above it. You want steady heat, not flames or smoke.
Preheating helps burn off any factory oils or dirt left on the metal. It also opens tiny metal pores to absorb the oil better during seasoning.
Ensuring Complete Dryness
After preheating, turn the burners to low. Use a clean cloth or paper towel to wipe the griddle’s surface. This removes any remaining moisture or residues.
Moisture can cause uneven seasoning and rust later. Make sure the surface is completely dry before applying oil.
Keep the griddle on low heat during this step. The warmth will help evaporate any hidden dampness.
Once the surface looks dry and feels warm to the touch, you are ready to start oiling. A perfectly dry and heated surface ensures a smooth and lasting seasoning layer.
Applying Oil Layers
Applying oil layers is a crucial step in seasoning your Blackstone griddle. This process creates a protective, non-stick surface that improves with use. Proper oil application helps the seasoning bond to the metal. Each layer builds on the last, making your griddle more durable and easier to cook on.
Choosing The Right Oil
Pick an oil with a high smoke point for best results. Canola, avocado, and vegetable oils are excellent choices. These oils withstand heat without burning or smoking too much. Avoid olive oil, as it has a lower smoke point and can leave sticky residue. Using the right oil ensures a smooth, even seasoning layer.
Spreading Thin Coats
Apply oil in very thin layers to avoid sticky buildup. Use a paper towel or cloth to spread the oil evenly. Thin coats dry faster and create a better bond with the griddle surface. Too much oil leads to uneven seasoning and a sticky texture. Wipe off any excess oil before heating the griddle.
Covering Edges And Corners
Don’t forget the edges and corners of your griddle. These areas can rust if left unprotected. Use a small cloth or brush to spread oil in tight spots. Make sure every part of the griddle has a thin, even coat. Covering edges prevents damage and helps maintain the entire surface.

Credit: www.youtube.com
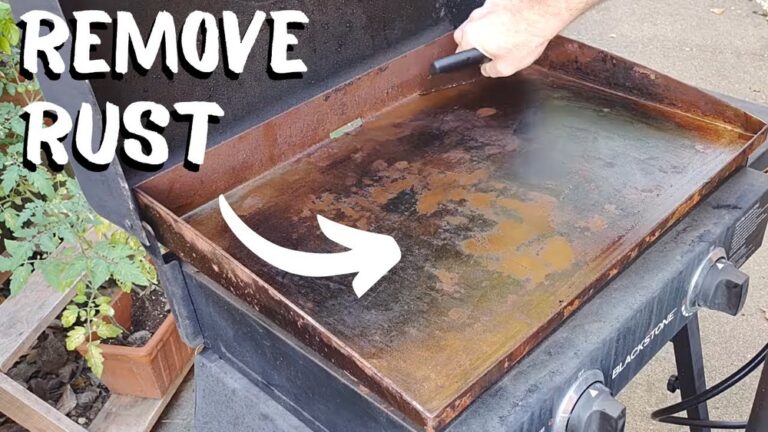
Burning Off Oil
Burning off oil is a crucial step when seasoning your Blackstone griddle. It helps create a durable, non-stick surface. This process removes excess oil and bonds the remaining layer to the griddle. Burning off oil properly prevents sticky spots and uneven seasoning. It also ensures the griddle is ready for cooking without any unpleasant smells or flavors.
Achieving The Smoking Point
Start by applying a thin layer of high smoke-point oil on the griddle. Turn on the burners to medium-high heat. Watch closely as the oil heats and begins to smoke. The smoke shows the oil is breaking down and bonding with the metal. Avoid overheating too much to stop the oil from burning and leaving a bad taste. Once the surface smokes evenly, you have reached the smoking point.
Timing For Best Results
Keep the griddle at the smoking point for about 10 to 15 minutes. This time allows the oil to polymerize and form a strong coating. Use a spatula to spread the heat evenly across the surface. After 15 minutes, turn off the heat and let the griddle cool slowly. Repeat burning off oil during each seasoning layer for best results. This timing creates a smooth, hard finish that lasts long.
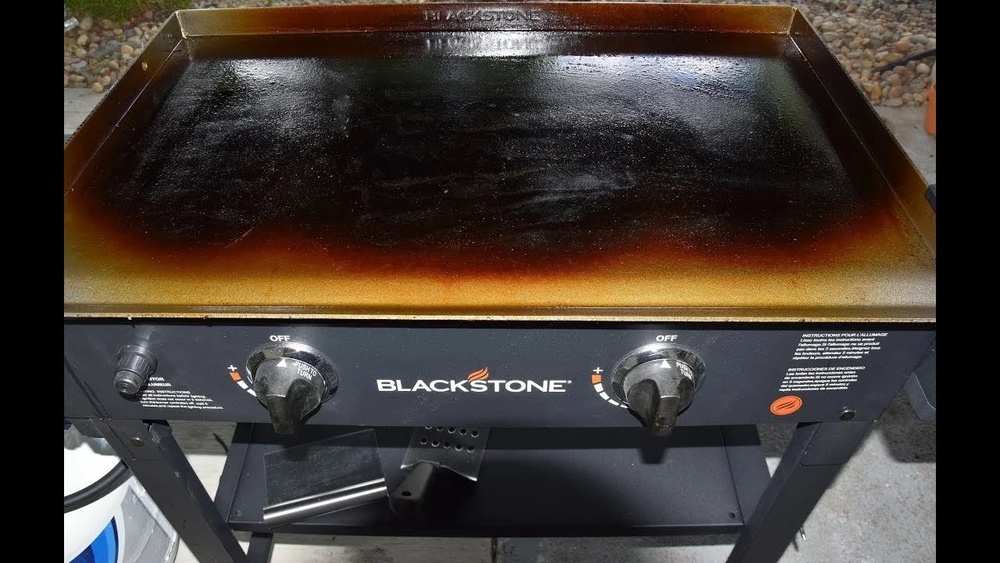
Repeating The Process
Repeating the seasoning process on your Blackstone griddle builds a strong, non-stick surface. Each layer adds protection and improves cooking performance. Patience pays off in creating a durable, even coating that lasts.
Number Of Coats Needed
Apply at least three to four thin coats of oil. This number ensures the seasoning forms a solid, black patina. Avoid using too few coats, as the surface may stay sticky or patchy. Some griddles benefit from up to five coats for extra durability.
Checking For Even Coverage
After each coat, look closely at the surface. The oil should spread evenly with no thick spots or puddles. Use a clean cloth or paper towel to wipe off excess oil before heating. Uneven coverage can cause sticky patches or uneven seasoning.
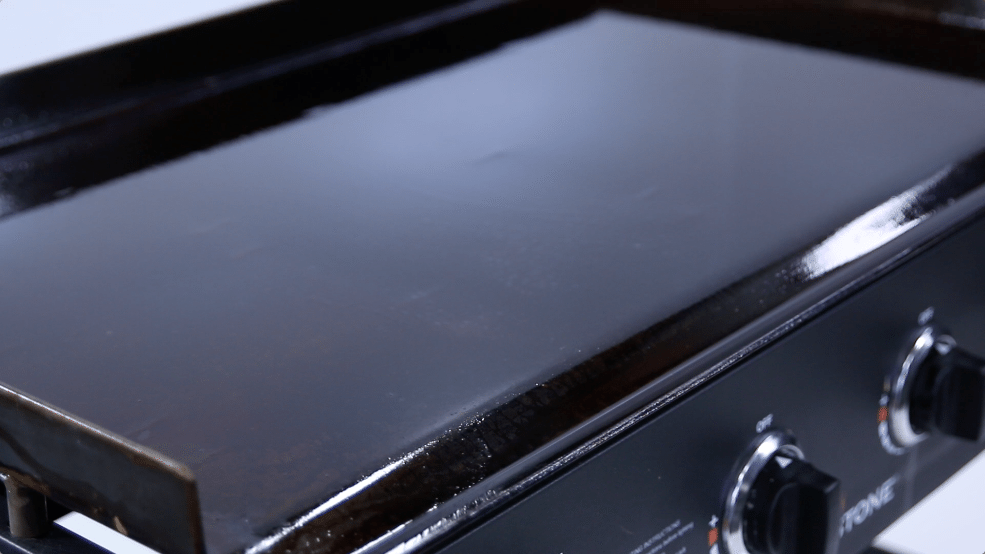
Final Touches
Maintaining your Blackstone griddle after seasoning keeps it non-stick and rust-free. Proper care helps the seasoning last longer and improves cooking quality. Follow simple steps after each use to protect your griddle and build seasoning over time.
Cleaning After Each Use
Scrape food residue off the griddle while it is still warm. Use a metal spatula or scraper designed for griddles. Avoid harsh soaps that can strip the seasoning layer.
Wipe the surface with a damp cloth to remove grease and bits. Then dry it completely with a paper towel or cloth. Leaving moisture causes rust and damages the seasoning.
Apply a thin coat of oil to the clean surface. Use oils with a high smoke point like canola or avocado oil. This step protects the griddle and prepares it for the next cooking session.
Building Seasoning Over Time
Seasoning improves with regular use and care. Each time you cook and oil the griddle, the seasoning layer thickens. This layer creates a natural non-stick surface that enhances flavor.
Keep applying thin layers of oil after cleaning and heating the griddle. Burn off the oil by heating the griddle until it smokes lightly. This process bonds the oil to the metal.
Do not rush or use too much oil. Thick layers can become sticky and uneven. Patience and consistency are key to a smooth, durable seasoning coat.
Maintenance Tips
Choosing the right oil is crucial for seasoning your Blackstone griddle properly. Oils with high smoke points create a durable, non-stick surface. The best oils protect the griddle and make cooking easier. Here are some top oils to consider for seasoning.
Avocado Oil Benefits
Avocado oil has a very high smoke point, around 520°F (271°C). It withstands the heat without burning or smoking too much. This oil creates a strong, smooth seasoning layer. It is also natural and free of additives. Using avocado oil helps prevent food from sticking to the griddle.
Grapeseed Oil Advantages
Grapeseed oil offers a smoke point of about 420°F (215°C). It is light in flavor and does not affect the food taste. This oil spreads evenly and forms a good protective coating. It is affordable and easy to find in most stores. Grapeseed oil is a great option for regular seasoning.
Canola Oil Uses
Canola oil has a smoke point near 400°F (204°C). It is widely available and budget-friendly. This oil works well for the first seasoning layers. Canola oil creates a smooth surface that improves with repeated use. It is a solid choice for beginners seasoning their griddle.
Blackstone Seasoning Blend
Blackstone also sells a special seasoning blend made for their griddles. This blend contains oils designed to bond well with the steel surface. It offers consistent results and long-lasting protection. Using this blend simplifies the seasoning process. It ensures your griddle stays in excellent condition.
Best Oils For Seasoning
Seasoning a Blackstone griddle is vital for its long life and great cooking results. Many people make simple mistakes that can harm the seasoning process. Avoiding these errors helps build a strong, non-stick surface faster. Read on to learn the common mistakes to avoid during seasoning.
Using Too Much Oil
Applying too much oil creates a sticky, uneven layer. Thick oil pools do not cook off properly. This causes a gummy surface that traps food and dirt. Use only a thin, even coat of oil. Wipe off any excess with a paper towel.
Skipping Drying Steps
Not drying the griddle fully before oiling can cause rust and poor seasoning. Water left on the surface stops oil from bonding well. Always heat the griddle to dry it completely after washing. A dry surface ensures the oil sticks and cures properly.
Ignoring Heat Levels
Heating the griddle too hot or too cold affects seasoning quality. If the griddle is too hot, oil burns quickly and forms black flakes. Too cold, and the oil will not polymerize correctly. Keep heat moderate and steady to allow oil to bake into the metal.
Common Mistakes To Avoid
Seasoning a Blackstone griddle enhances its cooking surface and protects it from rust. Different seasoning methods exist, each with unique steps and oils. These variations help you find the best fit for your cooking style. Some users prefer multiple thin coats, while others choose fewer, thicker layers. The choice of oil also affects the seasoning quality and durability. Understanding these variations allows you to create a strong, non-stick surface for delicious meals.
Popular Methods From Experts
Experts often recommend a multi-step seasoning process. Start by cleaning the griddle with warm water and mild soap to remove factory oils. Heat the surface until it is hot, but not smoking. Apply a thin coat of oil with a high smoke point, such as canola or avocado oil. Use a paper towel to spread the oil evenly and wipe off excess to avoid stickiness.
Burn the oil into the surface by heating the griddle until the oil smokes and bonds. Repeat the oil application and burning process two to three times. Some experts suggest finishing with a very thin coat of oil after the griddle cools for storage. These steps build a durable, smooth seasoning layer that improves with use.
Video Demonstrations
Watching videos can help you see each seasoning step clearly. Many creators show the full process, from cleaning to final oil application. These videos highlight common mistakes, such as using too much oil or not heating the griddle enough. Visual guides make it easier to follow expert tips and avoid errors.
Some videos focus on applying thin oil layers correctly. Others demonstrate how to maintain seasoning after cooking. These demonstrations are valuable for beginners and those who want to refine their technique. They help ensure your Blackstone griddle stays in great shape for many meals.

Credit: www.thegrillcoach.com
Frequently Asked Questions
How Do I Season My Blackstone Griddle For The First Time?
Clean the griddle with water and mild soap, then dry it on high heat. Apply a thin coat of high smoke-point oil like canola or avocado. Heat until the oil smokes, then repeat 2-3 times. Finish with a light oil layer after cooling.
What Is The Best Oil To Use To Season A Blackstone Griddle?
The best oil to season a Blackstone griddle has a high smoke point. Use grapeseed, avocado, or canola oil. These oils withstand high heat and create a durable, non-stick seasoning layer. Apply thin coats and burn off excess for optimal results.
Do You Put Oil Down Every Time You Cook On Blackstone?
Apply a thin layer of high smoke-point oil before each cook to maintain seasoning and prevent sticking. Wipe off excess oil.
How Often Do You Season A Blackstone?
Season your Blackstone griddle after every use for best results. Clean, apply a thin oil layer, and heat to maintain seasoning.
Conclusion
Seasoning your Blackstone griddle keeps it non-stick and rust-free. Clean the surface well before starting. Apply thin oil layers to avoid sticky buildup. Use oils with a high smoke point like canola or avocado. Heat the griddle to burn off each layer properly.
Repeat until the surface looks smooth and dark. Regular maintenance extends the seasoning and improves cooking. This simple routine helps your griddle last longer and cook better. Enjoy tasty meals with a well-seasoned Blackstone griddle every time.