How to Cure Blackstone Griddle: Ultimate Guide for Perfect Seasoning
If you’ve just unboxed your Blackstone griddle, you’re probably eager to start cooking amazing meals right away. But before you fire it up, there’s one crucial step you can’t skip: curing your griddle.
This simple process transforms your griddle’s surface, making it non-stick, rust-resistant, and ready to deliver perfect sears every time. Wondering how to cure your Blackstone griddle the right way? You’re in the right place. In this guide, you’ll discover easy, step-by-step instructions that anyone can follow.
Get ready to protect your investment and unlock the full potential of your griddle with a seasoned surface that lasts. Keep reading, and you’ll be cooking like a pro in no time!
Credit: www.madbackyard.com
Preparing The Griddle
Preparing your Blackstone griddle is the first step to ensure a long-lasting cooking surface. Proper preparation removes dirt and oils from manufacturing. It also creates a clean base for seasoning the griddle. This process helps prevent food from sticking and protects the metal from rust.
Initial Cleaning
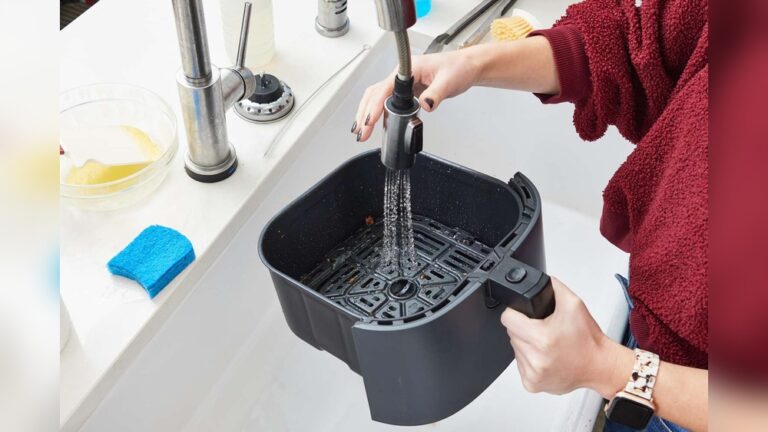
Start by washing the griddle with warm, soapy water. Use a soft cloth or sponge to remove dust and grease. Avoid harsh scrubbers that can scratch the surface. Rinse the griddle well to remove all soap residue. This step is important to clear any factory oils. Dry the surface with a clean towel before moving to the next step.
Drying The Surface
After cleaning, dry the griddle completely. Use a dry cloth or paper towels to wipe the surface. Heat the griddle on low for a few minutes to remove any leftover moisture. Moisture can cause rust and affect seasoning. Make sure no water remains before applying oil. A dry surface helps the oil bond better with the metal.
Credit: blackstoneproducts.com
Heating The Griddle
Heating the Blackstone griddle correctly is key to curing it well. The right heat prepares the surface for seasoning. This process helps build a strong, non-stick layer. Proper heating also prevents oil from burning unevenly. Follow simple steps to get the temperature just right.
Preheating Techniques
Start by turning on all burners to medium heat. Let the griddle warm up slowly for about 10 minutes. This avoids warping the metal. Spread heat evenly across the surface. Use a hand or infrared thermometer to check. Adjust burners to keep heat balanced.
Preheating removes moisture and opens the metal’s pores. This helps oil soak in better during seasoning. Avoid rushing this step for the best results.
Optimal Temperature
The ideal temperature for curing is between 350°F and 400°F. This range allows oil to polymerize and bond with the metal. Too low, and the oil won’t stick well. Too high, and the oil can burn, causing sticky spots.
Keep the temperature steady during seasoning. Use a thermometer often to monitor heat. Adjust the flame if needed to stay in range. This control ensures a smooth, durable finish on your griddle.
Applying Oil
Applying oil is a crucial step in curing your Blackstone griddle. It creates a protective layer that prevents rust and builds a smooth cooking surface. Proper oil application ensures even seasoning and long-lasting durability. The process requires attention to detail and the right technique to avoid sticky or flaky results.
Choosing The Right Oil
Select an oil with a high smoke point for best results. Canola, vegetable, and avocado oils work well. Blackstone’s own seasoning oil is a solid choice too. Avoid oils that burn easily or leave a sticky residue. The right oil helps form a strong, non-stick coating on the griddle.
Spreading Thin Layers
Apply oil in thin, even layers across the entire surface. Use a paper towel or cloth for smooth spreading. Thick oil layers can cause flaking or uneven seasoning. Make sure every part of the griddle is covered lightly. Thin coats bake into the metal better, creating a durable finish.
Burning Off Oil
Burning off oil is a key step in curing your Blackstone griddle. This process helps create a strong, non-stick surface by heating the oil until it bonds with the metal. Proper burn off removes any raw oil smell and builds layers that protect the griddle from rust.
Each time you burn off oil, the seasoning improves. It also makes cooking easier and cleanup faster. Taking care during this step sets the foundation for a long-lasting griddle.
Burn Off Process
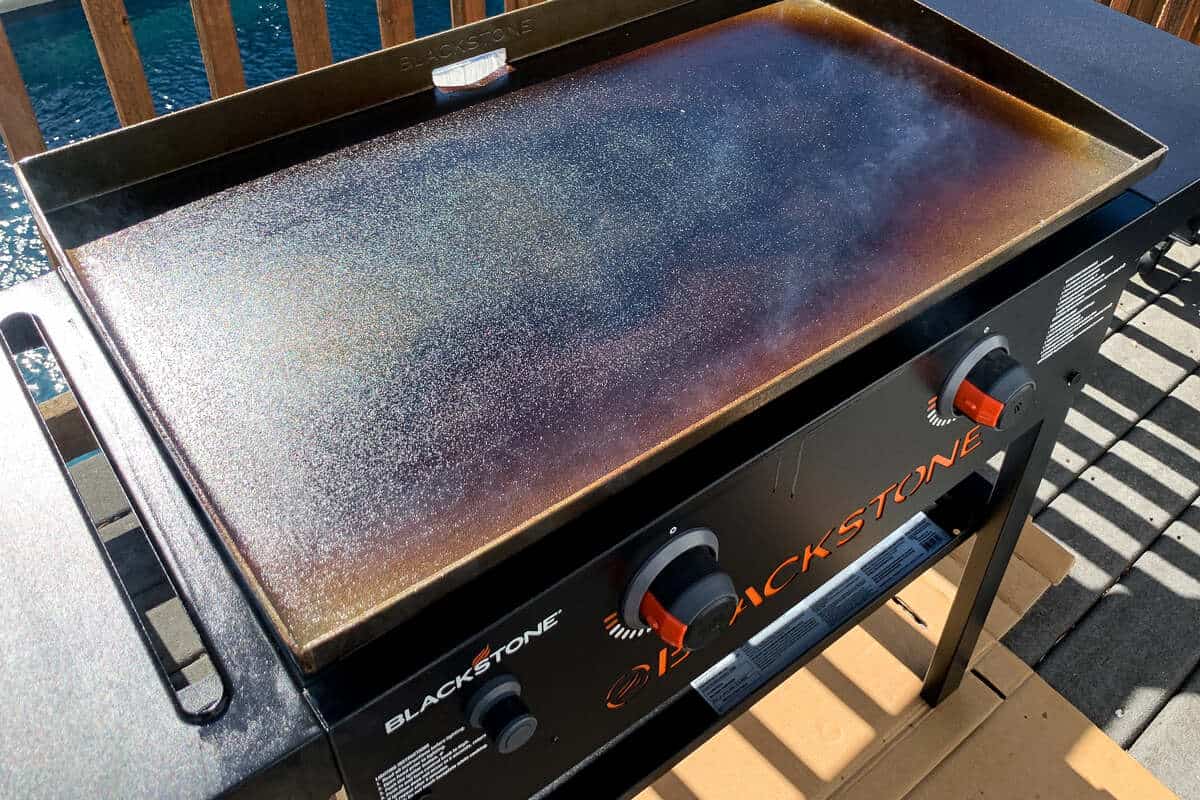
Start by spreading a thin layer of oil evenly on the griddle surface. Use oils with high smoke points like canola or vegetable oil. Turn the burners to medium-high heat and let the griddle heat up.
The oil will begin to smoke. This is normal and shows the oil is bonding to the metal. Keep the heat steady for about 20 to 30 minutes. Avoid overheating to prevent burning the oil too much.
After the smoke fades, turn off the heat and allow the griddle to cool naturally. This process hardens the oil layer, creating a smooth, durable surface.
Avoiding Excess Residue
Using too much oil causes sticky residue and uneven seasoning. Always apply thin, even coats. Wipe off any pools or thick spots before heating.
Residue can trap food and make cleaning harder. It can also flake off during cooking. If residue appears, scrub the griddle gently and repeat the burn off process with less oil.
Proper oil amount and careful heating prevent buildup. This keeps your Blackstone griddle smooth and ready for cooking every time.
Repeating Seasoning Steps
Repeating the seasoning steps is crucial to build a strong, lasting non-stick surface on your Blackstone griddle. Each layer adds protection and improves cooking performance. Patience matters here. Do not rush through the process. Multiple thin coats create the best finish. The seasoning must be applied evenly and correctly every time. This ensures your griddle stays rust-free and easy to clean.
Number Of Coats
Apply at least three to five coats of oil for proper seasoning. Each coat strengthens the surface and fills in small imperfections. Too few coats may leave the griddle vulnerable to rust. More coats provide better durability and a smoother finish. Allow each layer to burn in fully before adding the next. This gradual build-up gives the best long-term results.
Ensuring Even Coverage
Spread the oil thinly and evenly across the entire griddle surface. Use a paper towel or cloth to wipe off excess oil after applying. Thick spots can become sticky or peel off later. Heat the griddle to help the oil bond to the metal evenly. Pay close attention to corners and edges where oil can pool. Consistent coverage prevents patchy seasoning and rust spots.
Optional Onion Method
The Optional Onion Method adds a unique step to curing your Blackstone griddle. Cooking onions on the griddle surface helps build a better seasoning layer. This method uses natural oils and sugars from the onions to improve the non-stick surface. Many users find it simple and effective for maintaining their griddle.
Cooking Onions For Seasoning
Start by heating your griddle on low. Dice onions into small pieces for even cooking. Spread them across the griddle surface. Cook slowly until the onions release their juices and start to brown. The natural sugars caramelize and bond with the metal. This process helps fill tiny pores in the griddle surface. Stir occasionally to avoid burning and ensure even cooking.
Benefits For Non-stick Layer
The onion method creates a smooth, natural non-stick layer. It adds extra protection against rust and food sticking. The sugars from the onions polymerize, strengthening the seasoning. This layer lasts longer with proper care. It also helps distribute heat evenly across the cooking surface. Regular use of this method keeps your griddle performing well for years.
Final Protection
Final protection is key to keep your Blackstone griddle ready for every cook. It locks in the seasoning and stops rust. Without this step, your hard work can fade quickly. Protecting the surface means less cleaning and better cooking results each time.
Applying Last Oil Coat
After the griddle cools down, wipe a very thin layer of oil on it. Use a paper towel or cloth to spread the oil evenly. Thin coats prevent sticky buildup and flaking. Choose oils like canola, vegetable, or Blackstone’s own conditioner. This final coat forms a strong shield against moisture and rust.
Storage Tips
Store your griddle in a dry place to avoid rust. Cover it with a breathable griddle cover or cloth, not plastic. Plastic traps moisture and causes rust spots. Keep the griddle away from rain or humidity. Regularly check and apply oil if the surface looks dry before your next use.
Credit: blackstoneproducts.com
Maintenance Tips
Proper maintenance keeps your Blackstone griddle working well for years. Good habits after cooking preserve the seasoning. These simple steps protect the surface and prevent rust. Follow these maintenance tips to keep your griddle ready for any meal.
Cleaning After Use
Clean your griddle while it is still warm. Use a scraper to remove food bits gently. Avoid harsh soaps that can strip seasoning layers. Wipe the surface with a damp cloth or paper towel. Dry the griddle completely to stop rust formation. This routine keeps the cooking surface smooth and ready.
Regular Oiling Routine
Apply a thin layer of oil after cleaning. Use oils like canola, vegetable, or Blackstone’s conditioner. Spread the oil evenly over the entire surface. Heat the griddle on low for a few minutes to seal the oil. This step restores the non-stick coating and protects metal. Repeat this oiling after every use for best results.
Common Mistakes To Avoid
Knowing the common mistakes helps you cure your Blackstone griddle properly. Avoiding these errors saves time and effort. It also extends your griddle’s life. Pay attention to the details in each step for best results.
Using Too Much Oil
Applying too much oil causes sticky, uneven seasoning layers. Thick layers take longer to dry and may peel off. Use a thin, even coat instead. Wipe off extra oil with a paper towel. This helps build a smooth, durable surface that lasts.
Skipping Cleaning Steps
Skipping cleaning can trap dirt and old oil on the griddle. This prevents proper seasoning and may cause rust. Always clean the surface well before curing. Use warm, soapy water and a scrub pad. Dry it completely before applying oil. Clean surfaces help the oil bond better to the metal.
Seasoning Timeframe
Seasoning your Blackstone griddle is essential for better cooking and longer life. Knowing the right timeframe helps achieve a perfect non-stick surface. The process involves heating, oil application, and forming a protective layer. This section explains how long seasoning takes and how to tell when it is done.
How Long It Takes
Seasoning usually takes about 1 to 2 hours. Start by cleaning the griddle and applying a thin layer of oil. Heat the griddle on medium-high heat. Allow the oil to smoke and bond with the metal surface. Repeat the oiling and heating 2 to 3 times for best results.
For a new griddle, the first seasoning may take longer. Expect to spend more time on the first cure. Later touch-ups only need 20 to 30 minutes. Consistent seasoning over several uses improves the surface further.
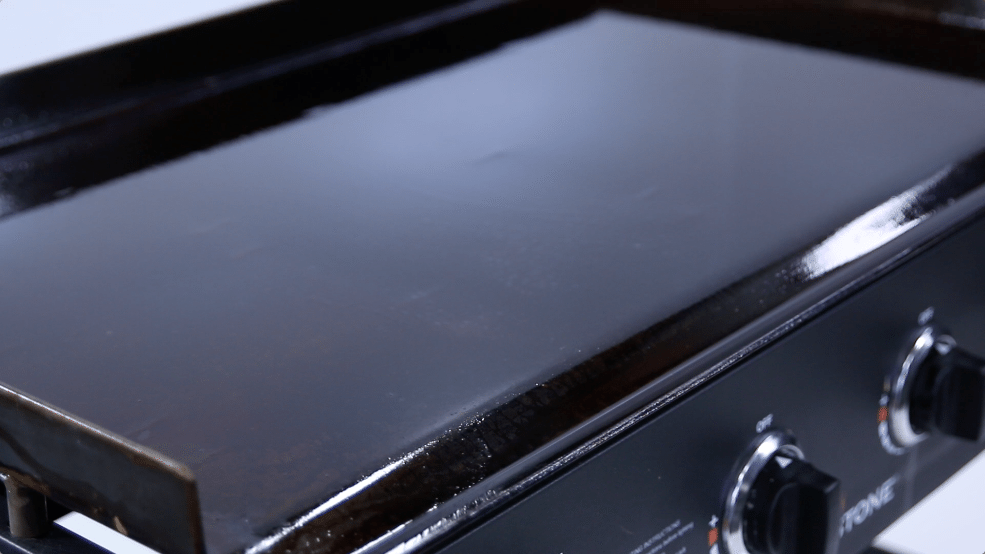
Signs Of Proper Seasoning
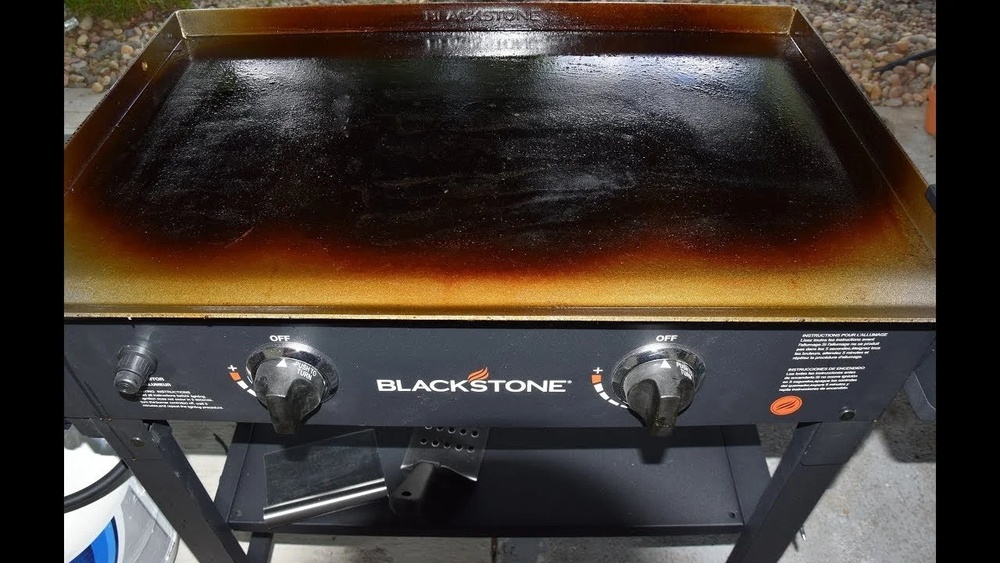
The griddle surface will turn dark and smooth. It should look slightly shiny and not sticky. Food will release easily when cooked on a well-seasoned griddle. The surface color may range from dark brown to black.
If oil beads or pools, seasoning is not done. Sticky or patchy spots mean more layers are needed. A properly seasoned griddle resists rust and cleans easily. Watch for these signs to know your griddle is ready.
Frequently Asked Questions
How To Cure A Blackstone Griddle For The First Time?
Clean the griddle with warm, soapy water, then dry it fully. Preheat the surface, apply a thin oil coat, and heat until smoking. Repeat oiling and heating 2-3 times. Optional: cook onions to build a non-stick layer. Finish with a thin oil coat for protection.
How Long Does It Take To Cure A Blackstone Grill?
Curing a Blackstone grill usually takes about one hour. Clean, dry, then apply thin oil layers. Heat and repeat for best seasoning.
Does A New Blackstone Griddle Need To Be Seasoned?
Yes, a new Blackstone griddle needs seasoning. Clean it first, then apply thin oil layers and heat to create a non-stick surface.
What To Use To Cure A Blackstone?
To cure a Blackstone griddle, clean it with warm, soapy water, dry thoroughly, then apply a thin, even coat of oil. Preheat the griddle to burn off oil and repeat oiling 2-3 times. Cooking onions helps create a non-stick layer.
Use canola, vegetable, avocado oil, or Blackstone conditioner.
Conclusion
Curing your Blackstone griddle keeps it non-stick and rust-free. Clean it well before seasoning for best results. Apply thin oil layers evenly to avoid flaking. Cooking onions helps build a strong, lasting surface. Regular maintenance after each use extends your griddle’s life.
Follow these simple steps for a smooth cooking experience. Enjoy delicious meals cooked on your well-cared Blackstone griddle. Keep curing it often for top performance every time.