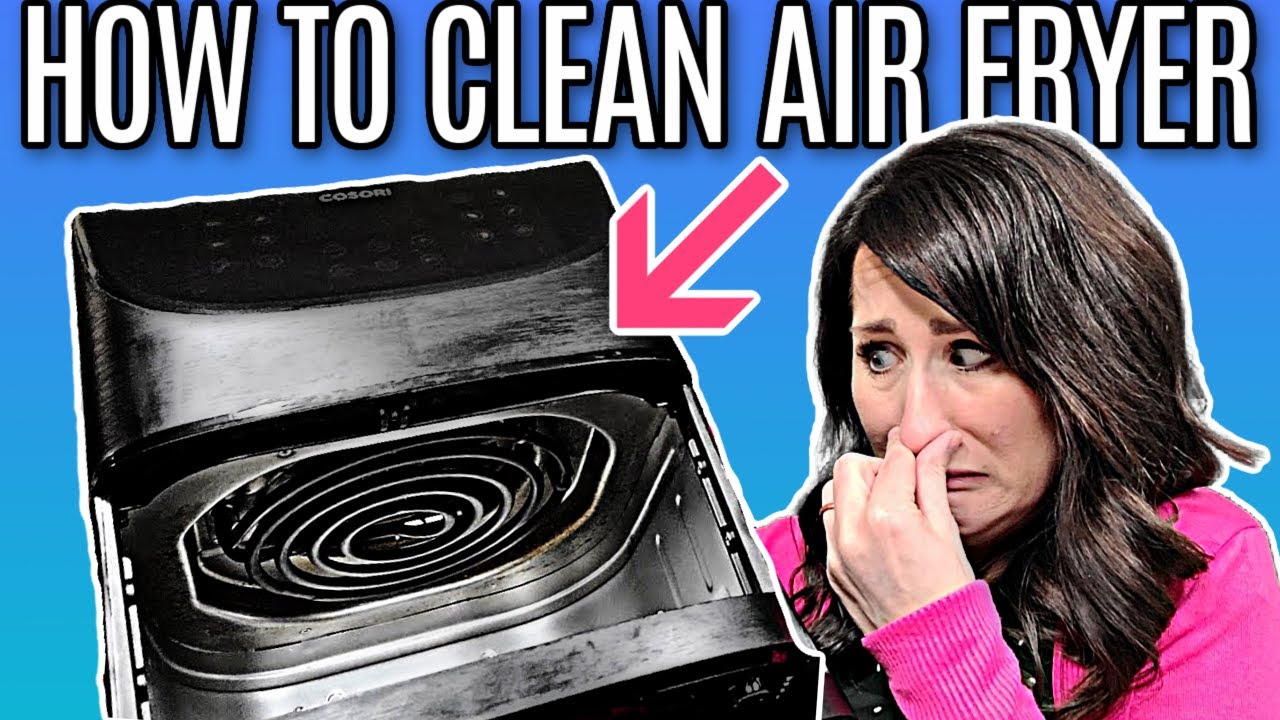
How To Clean Air Fryer Fan: Quick Safe Cleaning Tips
Power off, remove the basket, gently clean the fan with a soft brush and damp cloth, then dry.
I’ve cleaned dozens of air fryers and fixed noisy or greasy fans many times. This guide explains exactly how to clean air fryer fan safely and effectively. You’ll learn when to clean, the tools to use, a step-by-step method, deep-clean options for stubborn grease, safety tips, and simple maintenance to keep the fan working well. Read on to get practical, tested advice so your air fryer performs like new.

Why cleaning the air fryer fan matters
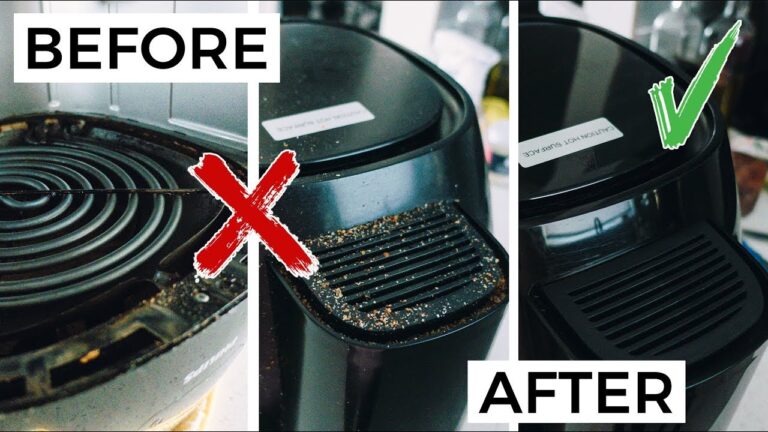
A dirty fan reduces airflow and heats unevenly. This causes longer cook times, uneven browning, and sometimes a burnt smell. Food grease and crumbs can build up on the fan blades and housing. Over time the motor can overheat or the fan can become noisy.
Keeping the fan clean restores performance and extends the unit’s life. Regular cleaning also helps keep food flavors pure and reduces smoke. Knowing how to clean air fryer fan is a small task that yields big benefits.

Source: reddit.com
When to clean the fan
Clean the fan when you notice these signs:
- Reduced airflow or air coming out weakly.
- Strange smells, smoke, or burnt odor during cooking.
- Visible grease or splatter on the top of the basket area.
- Loud or scraping noises from the fan during operation.
Routine schedule:
- Light wipe every 1–2 weeks with regular use.
- Deep clean every 2–3 months or after frying greasy foods. Learning how to clean air fryer fan on a regular schedule prevents big jobs later.

Source: youtube.com
Tools and materials you’ll need
Keep a small kit ready. Simplicity helps you clean quickly and often.
- Soft bristle brush or pastry brush for loose crumbs.
- Microfiber cloths for wiping and drying.
- Mild dish soap and warm water for degreasing.
- Cotton swabs for tight spots near the motor housing.
- Screwdriver if your model allows fan access (check manual).
- Isopropyl alcohol (optional) for stubborn grease, used sparingly.
I avoid harsh chemicals and abrasive scrubbers. They can damage coatings and motor parts. When in doubt, follow the manufacturer’s instructions for your model on how to clean air fryer fan.
Source: reddit.com
Step-by-step: How to clean air fryer fan (quick and safe)
Follow this tested routine. Keep sentences short and actions clear.
- Power off and unplug the unit
- Unplug the air fryer from the outlet. Let it cool for at least 30 minutes after use.
- Remove the basket and tray
- Take out the cooking basket and any trays. Wash these in warm, soapy water or put them in the dishwasher if safe.
- Access the fan area
- Open the top housing if your model allows. Many basket-style air fryers have a top filter and access panel. Refer to the manual before removing screws.
- Remove loose debris
- Use a soft brush to sweep crumbs and loose grease away from the fan blades and housing. Brush gently to avoid bending blades.
- Wipe with damp cloth
- Dampen a microfiber cloth in warm, soapy water. Wring it well. Wipe the fan blades and surrounding housing carefully.
- Use cotton swabs for crevices
* Dip cotton swabs in soapy water to reach tight spots. Avoid sending water into the motor or electrical openings. - Dry everything thoroughly
- Use a dry cloth to remove any moisture. Let the unit air-dry for at least an hour before reassembly.
- Reassemble and test
- Put the basket and tray back. Plug in and run the air fryer empty at a low temperature for 3–5 minutes to confirm normal operation.
These steps show how to clean air fryer fan without harming the motor or voiding warranty. If your model requires disassembly, proceed only if the manual permits it.
Source: youtube.com
Deep cleaning and handling stubborn grease
For heavy buildup you need a stronger approach. Be cautious around the motor.
- Remove the top cover if removable and permitted by the manual.
- Soak removable metal parts in hot, soapy water to loosen grease.
- Use a degreasing solution or a small amount of isopropyl alcohol on a cloth for baked-on grease on the fan blades. Test on a small area first.
- For very stubborn spots, let a dishwasher tablet dissolved in warm water sit briefly on metal parts, then scrub gently.
Avoid running liquids into the motor or electrical areas. If grease is inside the motor housing or the fan cannot be accessed without major disassembly, contact the manufacturer or a qualified technician. This ensures safety and avoids voiding the warranty.
Safety and precautions
Stay safe while cleaning. A few rules prevent damage and injury.
- Always unplug and cool the air fryer. Never clean while it’s still hot.
- Avoid spraying water or cleaners directly into the fan or motor area.
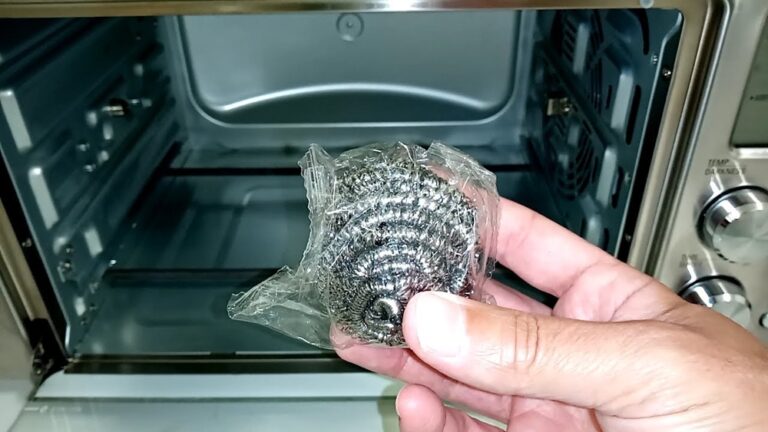
- Don’t use metal scrubbers or abrasive tools on coated parts.
- Check your manual before removing screws or dismantling the top cover.
- If you smell burning or hear grinding that cleaning doesn’t fix, stop using the unit and seek repair.
I once cleaned a fan without unplugging and learned to wait—sparks are not worth saving a few minutes. Simple caution prevents accidents.
Maintenance tips to prevent future buildup
Small habits reduce heavy cleaning needs.
- Empty crumbs and wipe the basket after each use.
- Use liners or parchment when frying greasy foods to catch splatter.
- Run the air fryer at 350°F for 5 minutes after heavy cooking to help burn off residue, then wipe once cool.
- Clean the exterior and vents monthly to maintain airflow.
- Keep a small brush near the unit so you can sweep crumbs quickly.
These tips make how to clean air fryer fan easier and less frequent.

Source: youtube.com
Troubleshooting after cleaning
If problems persist, try these checks.
- Fan still noisy: Inspect for a bent blade or foreign object. Tighten loose screws.
- Reduced airflow: Check vents and intake for blockages, and confirm basket and tray are seated correctly.
- Persistent smoke or smell: Deep clean the heating element and fan area, or run an empty cycle with vinegar steam (1 cup water and 1 cup white vinegar) to deodorize, then air out.
- Motor won’t run: If electrical issues remain after cleaning, stop use and contact support.
If cleaning doesn’t restore normal function, a professional inspection is the safest next step.
Personal experience and lessons learned
I’ve cleaned dozens of models over years of testing. A few lessons stand out.
- Don’t rush—moisture in the motor causes the most trouble.
- Regular light cleaning is far easier than occasional deep scrubs.
- Use soft brushes; they remove debris without damaging blades.
- Manuals matter—some brands require specific steps to access the fan.
One time, I fixed a noisy fan by simply removing a crisp chip lodged behind the blade. Small things matter. These real-world tips help when you learn how to clean air fryer fan.
Frequently Asked Questions of how to clean air fryer fan
How often should I clean the air fryer fan?
Clean the fan lightly every 1–2 weeks with regular use, and perform a deep clean every 2–3 months or after oily cooking. Frequency depends on how often and what you cook.
Can I use a dishwasher to clean fan parts?
Only removable, dishwasher-safe metal parts like baskets and trays can go in the dishwasher. Never place the main unit or fan housing in the dishwasher.
Is it safe to spray cleaner into the fan area?
No. Do not spray cleaner directly into the fan or motor housing. Use a damp cloth and cotton swabs to clean around electrical parts.
What if the fan still makes noise after cleaning?
Check for bent blades, lodged debris, and loose screws. If the noise continues, contact customer support or a technician for inspection.
Will cleaning the fan void my warranty?
Follow the manufacturer’s manual. Normal cleaning usually won’t void a warranty, but disassembling parts not meant to be removed might. Always check the warranty terms before dismantling.
Conclusion
Keeping the fan clean improves performance, reduces odors, and extends your air fryer’s life. Follow the simple steps here on how to clean air fryer fan: unplug, remove parts, clear debris, wipe carefully, and dry fully. Regular light cleaning prevents big jobs and reduces the risk of motor issues. Try the routine this week, subscribe for more practical kitchen care tips, and share your cleaning wins or questions in the comments.