How to Use Nuwave Air Fryer: Step-by-Step Beginner’s Guide
Using an air fryer can feel a bit intimidating at first, especially if you’ve just unboxed a Nuwave Air Fryer and are staring at all the buttons. But once you understand the basics, it can change how you cook. The Nuwave Air Fryer is popular because it cooks food quickly, uses little oil, and creates crispy results.
Whether you want to make fries, chicken wings, or even bake a cake, this appliance is up for the task. In this guide, you’ll learn how to use your Nuwave Air Fryer effectively, get the most from its features, and avoid common mistakes that many beginners make.
What Makes Nuwave Air Fryer Different
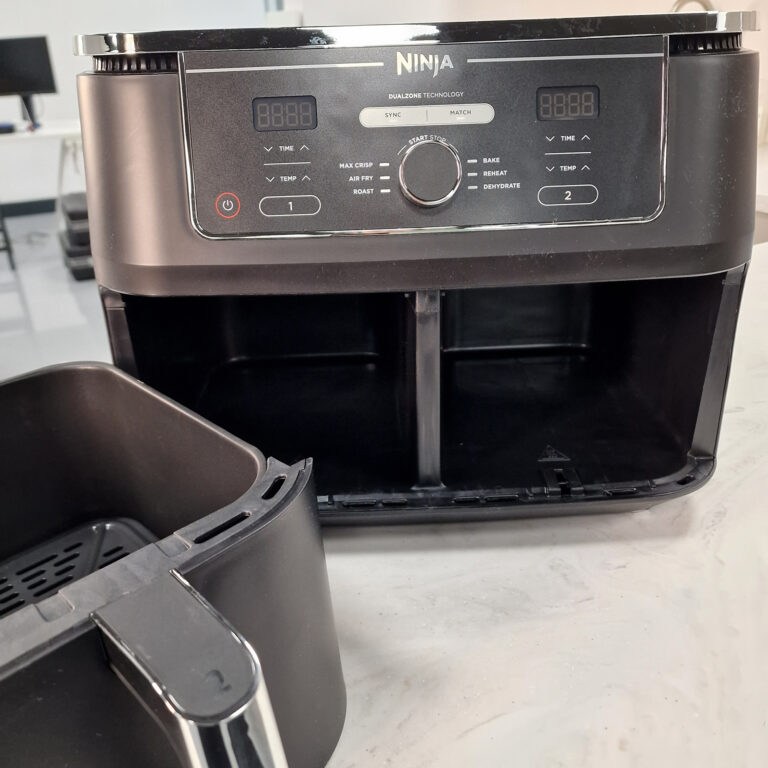
The Nuwave Air Fryer stands out due to its user-friendly design, digital controls, and a range of preset programs. Unlike older air fryers with manual dials, Nuwave gives you more precise control over temperature and time. This means you can cook a wider variety of foods, from frozen snacks to fresh vegetables and even desserts. The basket is also generally larger than some competitors, so you can cook meals for the whole family.
Another key feature is the preheat function. Many air fryers skip this, but preheating ensures your food gets crispy on the outside and cooked evenly inside. With Nuwave, you also get a removable basket and tray, making cleaning much easier after each use.
Getting Started: Unboxing And Setup
Before you start cooking, it’s important to set up your Nuwave Air Fryer correctly. Here’s what you should do:
- Unpack Everything: Take out the main unit, basket, tray, and any accessories.
- Clean Before First Use: Wash the basket and tray with warm, soapy water. Rinse and dry thoroughly.
- Find a Safe Spot: Place the air fryer on a flat, heat-resistant surface with enough space around it for ventilation.
- Plug It In: Make sure your power outlet matches the voltage requirements in the manual.
Non-obvious tip: Don’t use metal utensils inside the basket, as they can damage the non-stick coating. Use silicone or wooden tools instead.

Credit: www.youtube.com
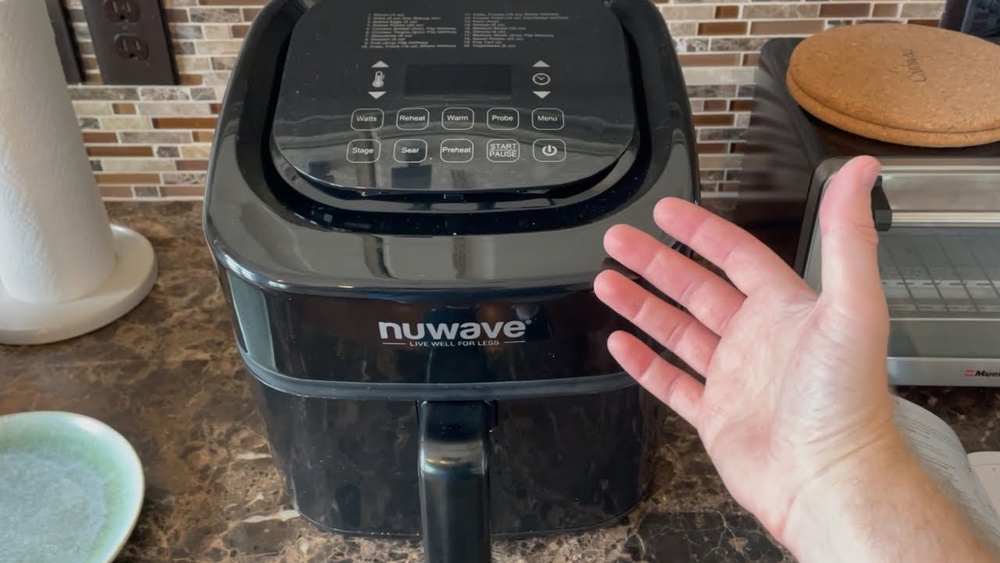
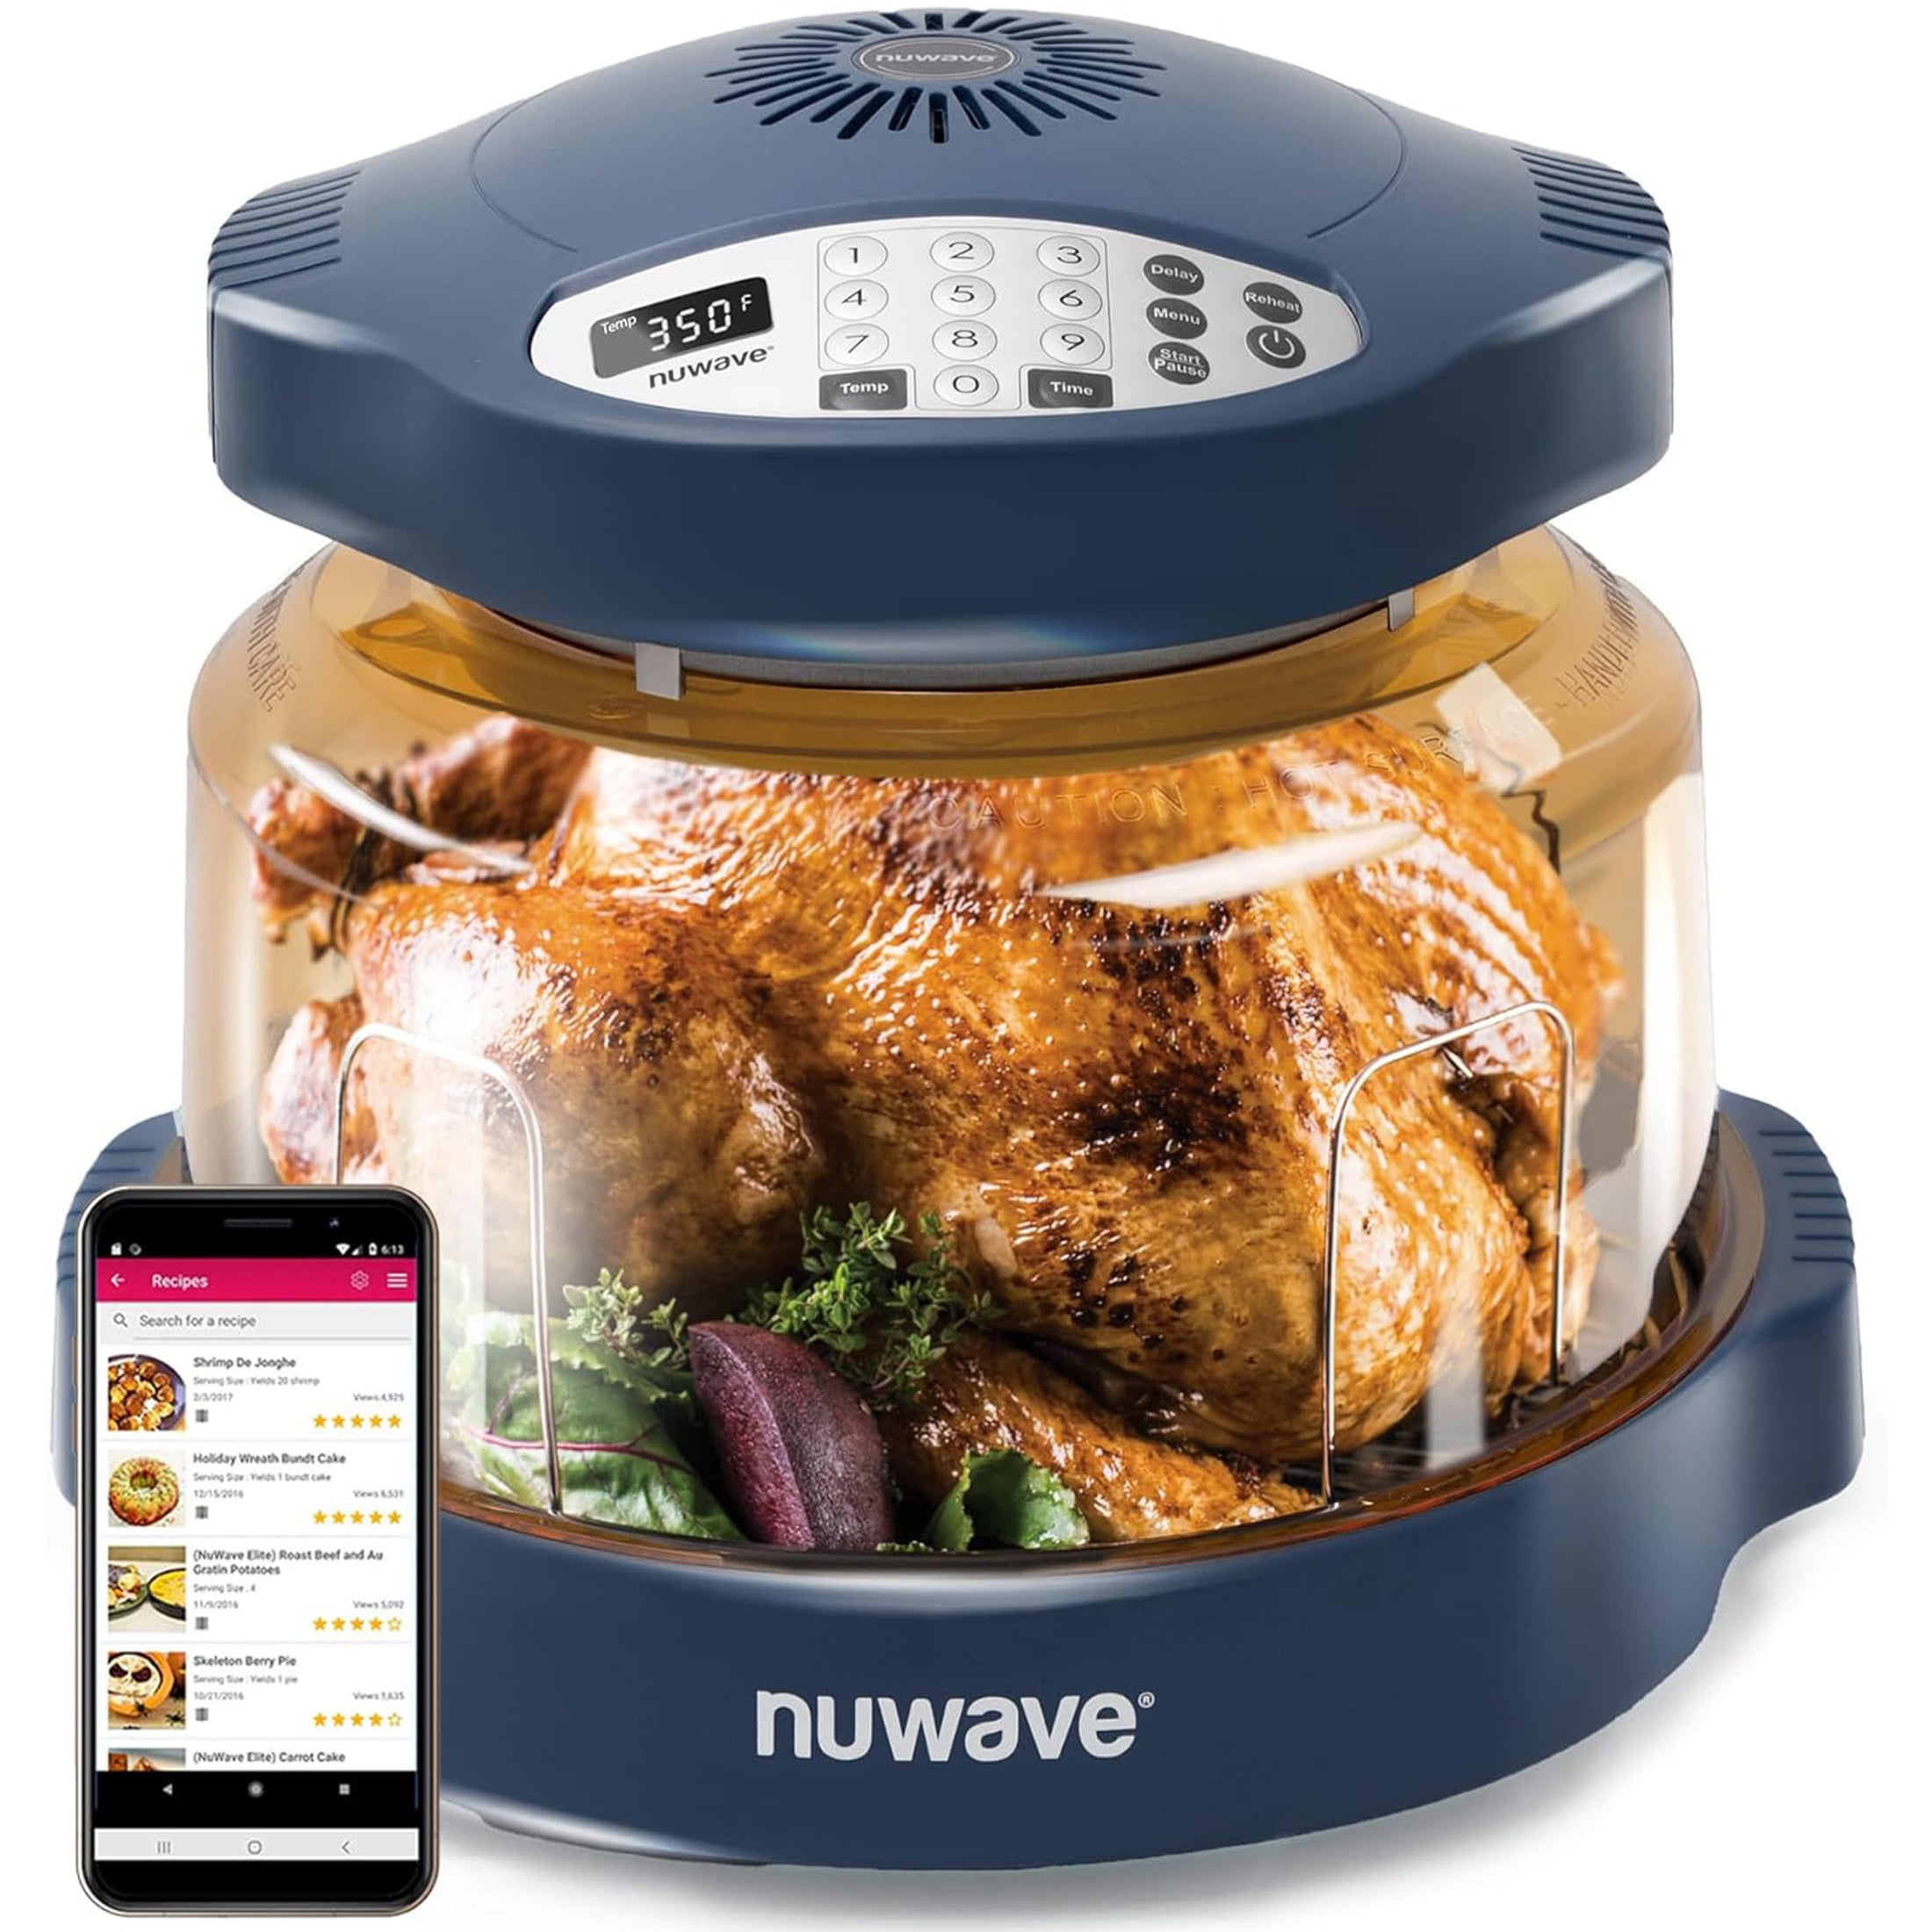
Understanding The Control Panel
The Nuwave Air Fryer’s control panel may look complicated, but it’s actually quite simple once you break it down.
| Button/Feature | Function |
|---|---|
| Power | Turns the air fryer on/off |
| Preheat | Heats the basket before cooking |
| Temp/Time | Adjusts temperature and cooking time |
| Start/Pause | Begins or pauses cooking |
| Menu/Presets | Selects preset cooking programs (fries, chicken, steak, etc.) |
Most models also have a digital display that shows your selected time and temperature. If your Nuwave has extra features like rotisserie or dehydrate, there will be specific buttons for these as well.
Beginner insight: Always check which model you have, as button placement and features can change. Read your manual for exact details.
How To Use Nuwave Air Fryer: Step-by-step
Using your air fryer is straightforward once you know the steps. Here’s how to get started:
1. Preheat The Air Fryer
Most recipes work best if you preheat. Press the preheat button, choose your temperature (usually 350–400°F for most foods), and wait for the beep.
- Time required: 2–3 minutes.
2. Prepare Your Food
While preheating, season your food. If you want extra crispiness, spray or brush a light layer of oil. Avoid heavy batter, as it won’t crisp well in an air fryer.
3. Load The Basket
Place your food in the basket in a single layer. Overcrowding can lead to uneven cooking. For larger batches, cook in several rounds.
4. Set Time And Temperature
Use the Temp/Time buttons to select your settings. If you’re unsure, start with lower times and check for doneness, since air fryers cook faster than ovens.
5. Start Cooking
Press Start. The fan and heating element will circulate hot air, crisping your food. Midway, the fryer may beep to remind you to shake or flip the food—this helps with even browning.
6. Check And Finish
Once time is up, pull out the basket carefully (it will be hot). Check if the food is cooked through. If not, add a few more minutes.
7. Serve And Clean
Transfer your food to a plate. Let the basket cool, then wash with warm, soapy water.
Cooking Times And Temperatures For Common Foods
Here’s a quick reference for popular foods:
| Food | Temperature | Time | Notes |
|---|---|---|---|
| French Fries (Frozen) | 400°F (204°C) | 12–15 min | Shake halfway |
| Chicken Wings | 380°F (193°C) | 25–28 min | Flip halfway |
| Vegetables | 375°F (190°C) | 10–12 min | Single layer |
| Steak | 400°F (204°C) | 8–10 min | Check doneness |
| Fish Fillet | 350°F (177°C) | 10–12 min | Oil lightly |
Practical tip: Food cooks faster in an air fryer than in a regular oven. Check your food a few minutes before the timer ends to avoid overcooking.
Using Preset Programs
The Nuwave Air Fryer’s preset buttons make things easier, especially for beginners. Simply load your food, press the right preset (for example, “fries” or “chicken”), and the air fryer will set the time and temperature automatically. You can still adjust these if you want your food more or less crispy.
Non-obvious insight: Presets are based on standard serving sizes. If you’re cooking a large batch or thicker cuts, you may need to add extra time.
Cleaning And Maintenance
Keeping your air fryer clean is key to great-tasting food and long life for your appliance.
- Unplug and cool: Always unplug before cleaning. Let the fryer cool completely.
- Basket and tray: Wash in warm, soapy water. If food is stuck, soak for 10–15 minutes.
- Main unit: Wipe with a damp cloth. Never submerge in water.
- Avoid harsh cleaners: Do not use steel wool or abrasive pads, as they can scratch the non-stick surface.
If your Nuwave basket is dishwasher-safe (check your manual), you can clean it that way for convenience.
Advanced Features And Tips
Some Nuwave models come with advanced options, such as rotisserie, dehydrate, or reheat. Here’s how you can use them:
Rotisserie
Great for roasting whole chicken. Attach the chicken to the spit, secure it well, and select the rotisserie function. Cooking time depends on the size, but usually 45–60 minutes at 370°F (188°C).
Dehydrate
Perfect for making dried fruits or jerky. Slice thin, arrange in the basket, and select the dehydrate setting (usually low heat, long time).
Reheat
Use the reheat button for leftovers. This brings back the crispiness lost in the fridge.
Pro tip: Experiment with baking—small cakes, muffins, and cookies work well. Use an oven-safe dish that fits in the basket.
Air Fryer Vs. Traditional Cooking Methods
Let’s compare the Nuwave Air Fryer to conventional cooking methods:
| Method | Time | Oil Needed | Texture |
|---|---|---|---|
| Air Fryer | Fast (10-20 min) | Very little | Crispy |
| Oven Baking | Medium (20-40 min) | Some | Less crispy |
| Deep Frying | Fast (5-10 min) | A lot | Very crispy |
| Pan Frying | Medium (10-20 min) | Moderate | Crispy, but oily |
As you can see, the air fryer gives you crispy results with much less oil and in less time than an oven.
Common Mistakes To Avoid
Many beginners repeat certain mistakes. Here’s what to watch out for:
- Overcrowding: This blocks air flow. Cook in batches if needed.
- Skipping the Shake: Shaking or flipping halfway ensures even cooking.
- Not Preheating: Skipping preheat can lead to soggy food.
- Using Too Much Oil: You only need a light spray. Too much oil can cause smoking.
- Wrong Temperature: Start with lower heat for delicate foods like fish.
Non-obvious insight: Never place parchment paper or foil in the basket without food on top. The paper can fly up and touch the heating element, causing smoke or fire.
Credit: www.walmart.com
Safety Tips
- Keep the air fryer on a heat-resistant surface.
- Do not cover the air vents.
- Always use oven mitts when handling the basket.
- Keep away from water to avoid electrical shock.
- Supervise children around the appliance.
Making The Most Of Your Nuwave Air Fryer
To get the best results, experiment with recipes and keep track of your favorite settings. Try air frying vegetables for a healthy snack, or reheat pizza slices for a crispy crust. The more you use your Nuwave, the more confident you’ll become.
For more recipe ideas and troubleshooting, visit the official Nuwave Air Fryer website.
Frequently Asked Questions
How Much Food Can I Cook At Once In My Nuwave Air Fryer?
The amount depends on the basket size. Most standard Nuwave models hold 2–3 pounds of food. For best results, cook in a single layer and avoid stacking. Larger models can handle more, but always check your manual.
Can I Use Aluminum Foil Or Parchment Paper In The Air Fryer?
Yes, but only place it under food to prevent it from blowing around. Never cover the entire basket or block air vents, as this can cause uneven cooking or even a fire hazard.
Do I Need To Add Oil To My Food?
Most foods need little or no oil. For extra crispiness, lightly spray or brush oil on your food. Avoid pouring oil directly into the basket, as this can cause smoking.
Can I Bake Cakes Or Bread In My Nuwave Air Fryer?
Absolutely! Use an oven-safe dish that fits in the basket. Adjust temperature and time, and check for doneness with a toothpick. Air fryers bake faster, so watch carefully.
How Do I Clean Stubborn Grease From The Basket?
Soak the basket in warm, soapy water for 10–20 minutes. Use a soft sponge or brush. For very tough spots, a baking soda paste can help. Never use metal scrubbers, as they will damage the non-stick coating.
Using a Nuwave Air Fryer can truly transform your kitchen routine. With the steps and tips above, you’ll be enjoying crispy, healthy meals in no time. Remember: start simple, clean regularly, and don’t be afraid to try new recipes. Enjoy your cooking journey!