How to Break in a Blackstone Griddle: Ultimate Seasoning Guide
You just got your Blackstone griddle, and you’re eager to start cooking up delicious meals. But before you fire it up, there’s one crucial step you can’t skip: breaking it in properly.
Knowing how to break in your Blackstone griddle will unlock its full potential, giving you a smooth, non-stick surface that cooks evenly and lasts for years. If you want to avoid sticky spots, rust, or uneven heating, this guide is exactly what you need.
Keep reading, and you’ll learn simple, step-by-step tips to season your griddle like a pro—getting it ready for everything from breakfast pancakes to juicy burgers. Your best griddle meals start here!
Credit: www.scala-santa.com
Preparing The Griddle
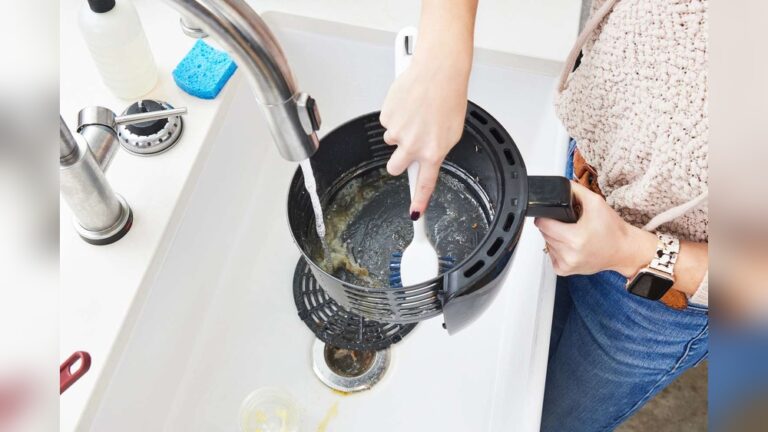
Preparing your Blackstone griddle before the first use sets the foundation for great cooking. This step removes any factory residues and protects the surface. A clean and dry griddle ensures the seasoning process works well. Follow the simple steps below for best results.
Cleaning The Surface
Start by washing the griddle with warm water and mild soap. Use a soft cloth or sponge to scrub gently. Remove any dust, dirt, or oils left from manufacturing. Avoid harsh cleaners that can damage the surface. Rinse thoroughly to leave no soap behind. This step is crucial for a smooth seasoning process.
Drying Thoroughly
After cleaning, dry the griddle completely with a clean towel. Any moisture can cause rust or uneven seasoning. Let the griddle air dry for a few minutes to ensure no water remains. A dry surface helps the oil stick better during seasoning. Proper drying protects your griddle and prepares it for long-lasting use.
Credit: saintnicholashospital.com.br
Choosing The Right Oil
Choosing the right oil is key to properly breaking in your Blackstone griddle. The oil creates a protective, non-stick layer on the griddle surface. It must handle high heat without burning or smoking too much. This helps build a smooth, durable seasoning that lasts. Picking the right oil affects how well the griddle performs and how long the seasoning stays strong.
High Smoke Point Oils
High smoke point oils resist burning and smoking at high temperatures. They create a better seasoning layer on your griddle. Oils with a smoke point above 400°F work well. These oils stay stable during the seasoning process. Using low smoke point oils can leave sticky, uneven patches on the surface. Avoid oils that burn quickly to protect your griddle’s finish.
Common Oil Options
Many people use flaxseed oil for its high smoke point and strong seasoning. Canola oil is popular too. It has a high smoke point and is easy to find. Vegetable oil works but may smoke more than canola. Grapeseed oil is another good choice. It has a neutral taste and high smoke point. Choose oils that are fresh and clean for best results.
Applying The First Coat
Applying the first coat of oil is a vital step in breaking in your Blackstone griddle. This process creates a protective layer that prevents rust and builds a natural non-stick surface. Proper application ensures the oil bonds well with the metal as it heats. Take your time to cover every inch of the cooking surface evenly. The goal is a thin, smooth layer without clumps or puddles. This helps the seasoning bake into the griddle for long-lasting performance.
Spreading Thin And Even
Use a paper towel or cloth to spread the oil. Hold it with tongs to avoid burns from the hot griddle. Apply a small amount of oil at a time. Move the towel in slow, circular motions. Cover the entire surface, including edges and corners. The oil layer should look shiny but thin. Avoid thick spots. Thick oil pools can become sticky or uneven after heating. A smooth, even coat helps the seasoning cure properly.
Avoiding Excess Oil
Too much oil causes problems during seasoning. Excess oil pools and does not dry well. It can create sticky, uneven patches on the griddle. After spreading, check for any visible puddles. Dab off any extra oil with a clean paper towel. Less is more in this step. A thin, light coat works best for forming a strong, durable seasoning. This careful application leads to a better cooking surface and easier cleanup.
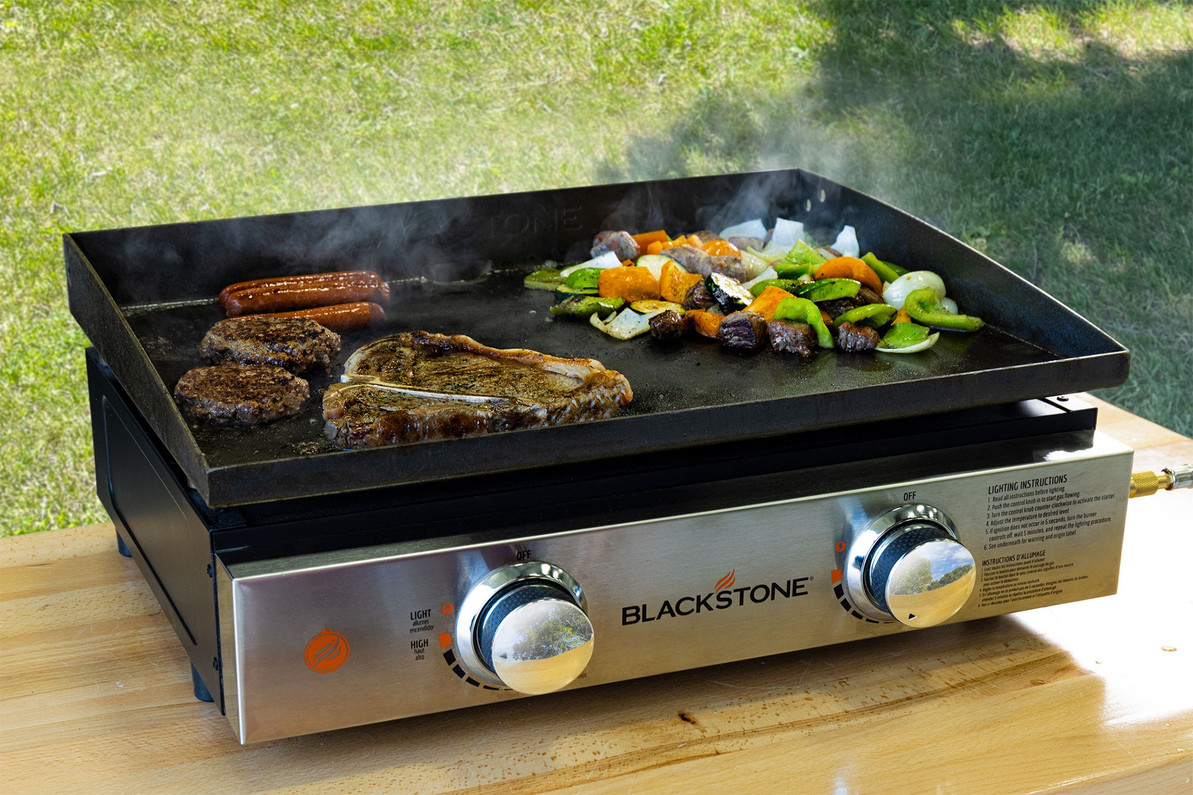
Heating And Polymerizing
Heating and polymerizing form the core steps in breaking in your Blackstone griddle. This process creates a strong, non-stick surface that protects the griddle from rust and improves cooking quality. Proper heating helps the oil bond tightly to the metal, forming a durable seasoning layer.
Understanding the right temperature and timing is key. Too low a heat will not polymerize the oil properly, while too high might damage the surface. Controlling the heat ensures the seasoning sets correctly and lasts long.
Reaching Smoke Point
Start by heating the griddle evenly over medium-high heat. Watch closely as the oil begins to smoke. This smoke point signals the oil is breaking down and starting to bond.
Maintain this temperature until you see consistent smoke across the surface. This step is essential to activate the polymerization process. Avoid turning off the heat too soon.
Burn Off Process
After reaching the smoke point, continue heating to burn off excess oil. The surface will darken as the oil polymerizes and hardens. This ‘burn off’ removes sticky residues and creates a smooth finish.
Use a spatula to spread any pooling oil thinly. Burn off each coat fully before applying the next. This process usually takes 20 to 30 minutes per layer.
Repeating Seasoning Layers
Repeating seasoning layers build a strong, non-stick surface on your Blackstone griddle. Each layer adds protection against rust and improves cooking performance. The process involves applying multiple thin coats of oil and heating the griddle after each coat. Patience during this step ensures a durable seasoning that lasts.
Number Of Coats Needed
Typically, apply three to five thin coats of oil. Each coat creates a better barrier on the griddle’s surface. Too few layers may lead to uneven seasoning and sticking. More layers give a smoother and more reliable cooking surface.
Timing Between Layers
Heat the griddle after applying each coat until the oil smokes and bonds to the metal. Let the surface cool slightly before adding the next coat. This process usually takes 10 to 15 minutes per layer. Allowing the griddle to cool prevents oil buildup and uneven seasoning.

Credit: jardinjasmin.com
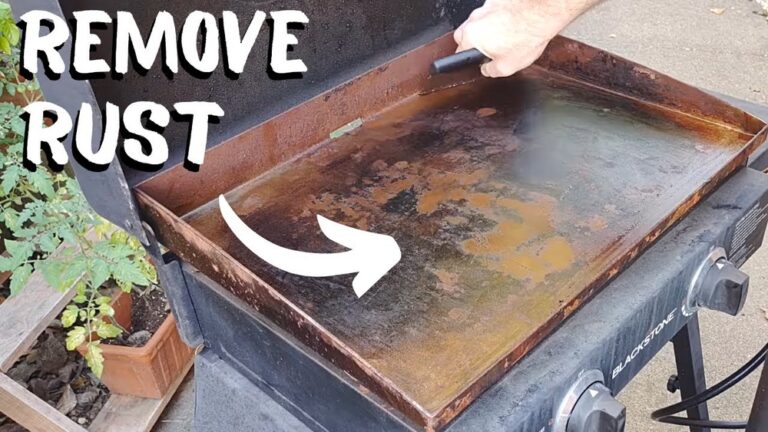
Seasoning The Edges
Seasoning the edges of your Blackstone griddle is a crucial step. It ensures the entire cooking surface resists rust and sticks less. Many users focus only on the center. Edges also need proper attention to last longer and cook better.
Covering Front And Sides
Start by applying a thin layer of oil on the front edge. Use a clean paper towel or cloth for this. Spread the oil evenly to avoid pooling. Next, move to the sides. Coat them with the same care. This prevents rust on the exposed metal parts. Covering these areas helps keep the griddle in good shape over time.
Protecting All Surfaces
Don’t forget to season the back and corners of the griddle. These spots often get overlooked. Apply oil lightly but thoroughly. Heat the griddle after oiling to lock in the seasoning. This creates a smooth, protective layer on every part. Protecting all surfaces means your griddle stays ready for great cooking sessions.
Final Coating And Storage
After the initial seasoning layers, the final coating and storage steps protect your Blackstone griddle. This stage ensures a long-lasting, rust-free surface ready for cooking. Proper cooling and applying a protective oil layer are key. These steps lock in the seasoning and keep moisture out during storage.
Cooling Before Last Coat
Let the griddle cool down to a warm temperature before the final oil coat. Avoid applying oil on a very hot or cold surface. A warm griddle helps the oil spread evenly and absorb better. This cooling step prevents the oil from burning or pooling on the surface.
Applying Protective Oil Layer
Use a high smoke point oil, like flaxseed or canola, for the last coat. Apply a thin, even layer using a clean cloth or paper towel. Cover the entire cooking surface and edges. Wipe off any excess oil to avoid sticky spots. This oil layer seals the seasoning and stops rust during storage.
Maintenance Tips
Proper maintenance keeps your Blackstone griddle in top shape. Following simple care steps after each use extends its life. It helps maintain a smooth, non-stick cooking surface. Small routines prevent rust and buildup. These tips make future cooking easier and more enjoyable.
Cleaning After Use
Clean the griddle while it is still warm. Use a scraper to remove leftover food bits. Avoid harsh soaps that can damage the seasoning. Wipe the surface with a damp cloth or paper towel. Dry the griddle fully to stop rust from forming.
Light Oil Application
After cleaning, apply a thin layer of oil. Use a high smoke point oil like vegetable or canola oil. Spread it evenly with a paper towel across the entire surface. This layer protects against moisture and keeps the seasoning strong. Reapply oil regularly to maintain the surface.
Regular Heating
Heat the griddle before each cooking session. This helps burn off any food residue left behind. Regular heating also maintains the seasoning’s strength. Turn on the griddle and let it reach cooking temperature. This habit keeps your griddle ready and rust-free.
Common Mistakes To Avoid
Breaking in a Blackstone griddle sets the stage for great cooking. Avoid common mistakes to ensure a smooth seasoning process. These errors can affect the griddle’s performance and lifespan. Follow these tips to get the best results from your new griddle.
Using Too Much Oil
Applying too much oil creates sticky, uneven seasoning layers. The oil should be thin and spread evenly. Excess oil can pool and create sticky spots. These spots burn and ruin the seasoning. Use a paper towel to wipe off extra oil.
Skipping Edges
The edges of the griddle often get ignored during seasoning. Oil and heat must reach the edges too. Skipping edges leads to rust and weak spots. Spread oil evenly over the entire surface, including edges. This helps protect the whole griddle from damage.
Not Heating Properly
Heating the griddle at the right temperature is crucial. Too low heat won’t bond the oil to the metal. Too high heat can burn the oil and cause uneven seasoning. Preheat the griddle gradually until it smokes lightly. Maintain even heat during the entire process.
Troubleshooting Seasoning Issues
Seasoning a Blackstone griddle can sometimes present challenges. Troubleshooting seasoning issues helps keep your griddle in top shape. Understanding common problems speeds up the process. Fixing these issues ensures a smooth, durable cooking surface.
Sticky Or Flaky Surfaces
Sticky or flaky layers mean the seasoning did not bond well. This happens when oil is applied too thickly. The griddle surface remains tacky or peels off during cooking. Overheating the oil can also cause flaking. Use thin layers of oil and heat evenly. Avoid using too much oil in one coat.
Uneven Coating
Uneven seasoning appears as patchy or blotchy areas on the griddle. It happens if oil is not spread uniformly. Some spots become darker or more seasoned than others. Uneven heat can worsen this problem. Always apply oil with a clean cloth or paper towel. Heat the griddle gradually and rotate pans to balance heat.
Re-seasoning Tips
Re-seasoning fixes most surface problems quickly. Start by cleaning the griddle with warm water and a scrub pad. Avoid soap, which removes seasoning layers. Dry the surface thoroughly before applying oil. Use a high smoke point oil like flaxseed or canola. Spread a very thin, even coat. Heat the griddle until the oil smokes and polymerizes. Repeat this process two to three times for best results.
Frequently Asked Questions
How Long Does It Take To Break In A Blackstone Griddle?
Breaking in a Blackstone griddle takes about one hour. Clean, dry, then apply thin oil layers. Heat each layer to smoke point. Repeat several times for a durable, non-stick surface.
How Do I Break In My New Blackstone Griddle?
Clean the griddle with soap and water, then dry completely. Heat the surface, apply a thin oil layer evenly. Heat until it smokes, then repeat 2-3 times. Finish with a light oil coat to protect. This process seasons and breaks in your Blackstone griddle effectively.
How To Season A Blackstone Griddle For The First Time?
Clean the griddle with soap and water, then dry it completely. Heat the surface on high. Apply a thin, even layer of high-smoke-point oil. Let it smoke and polymerize. Repeat oil application and heating 2-3 times. Finish with a light oil coat before storage.
How To Ignite A Blackstone Griddle For The First Time?
Clean the griddle with soap and water, then dry it. Heat the griddle on high until it smokes. Apply a thin, even coat of oil. Heat again to burn off excess oil. Repeat oiling and heating 2-3 times to build seasoning.
Conclusion
Breaking in your Blackstone griddle takes patience and care. Start with a clean surface and apply thin oil layers evenly. Heat the griddle to bond the oil properly. Repeat the process several times for best results. This helps create a non-stick surface and protects against rust.
Use simple oils like vegetable or canola for seasoning. After seasoning, your griddle will cook food evenly and last longer. Keep it clean and lightly oiled after each use. Enjoy cooking delicious meals on your well-seasoned Blackstone griddle!